Oasis ROSE Wallet - Web
This is the Oasis Foundation-managed non-custodial web wallet for the Oasis Network. You can access it by visiting wallet.oasis.io.
The wallet was designed to work with any modern browser. In order to use the Ledger hardware wallet though, you will need the WebUSB support. At time of writing, this was only available in Chrome and other Chromium-based browsers.
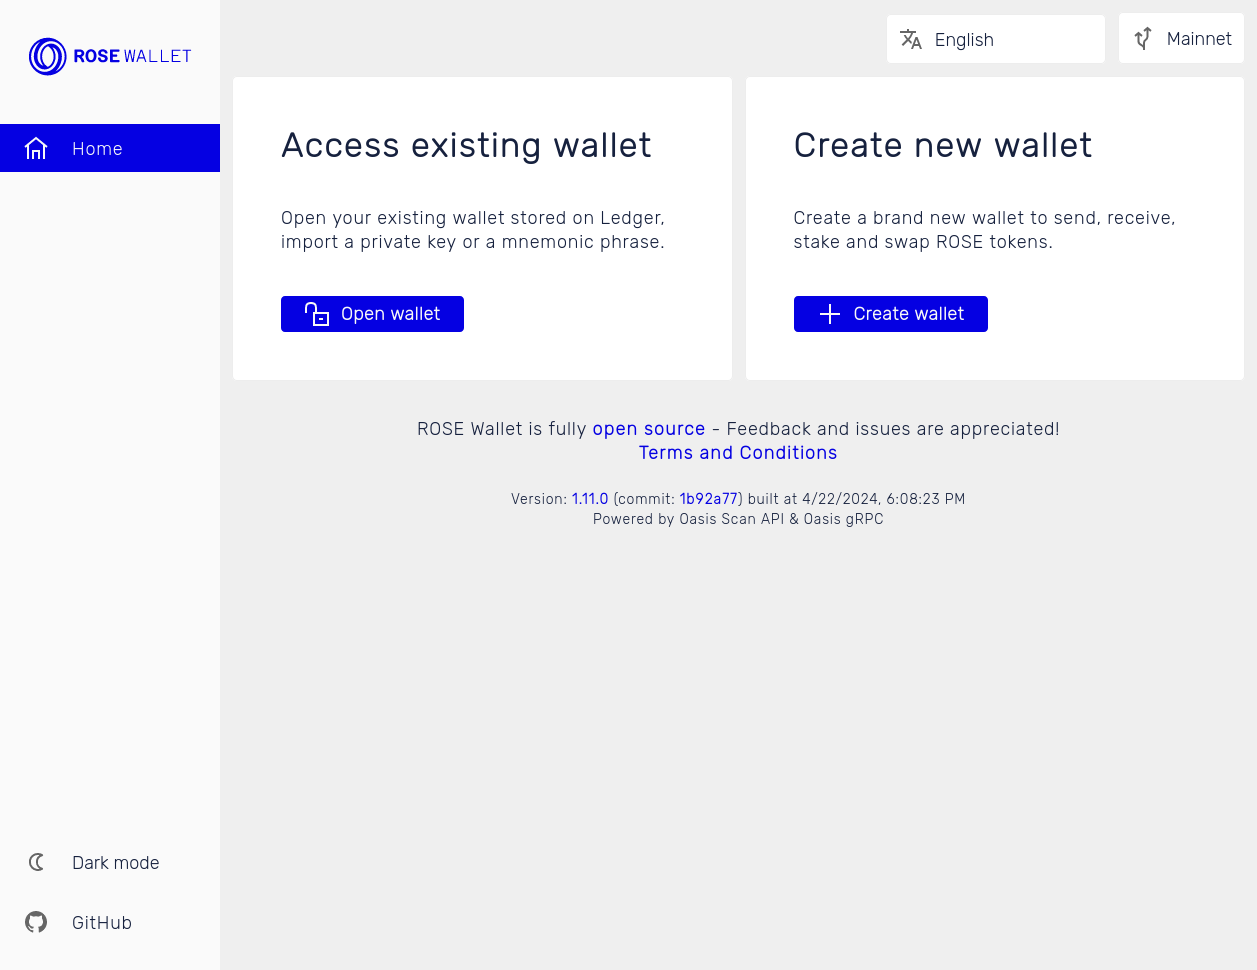
Opening the wallet for the first time will show the Home screen where you can choose to create a new account or open an existing one.
Create a New Account
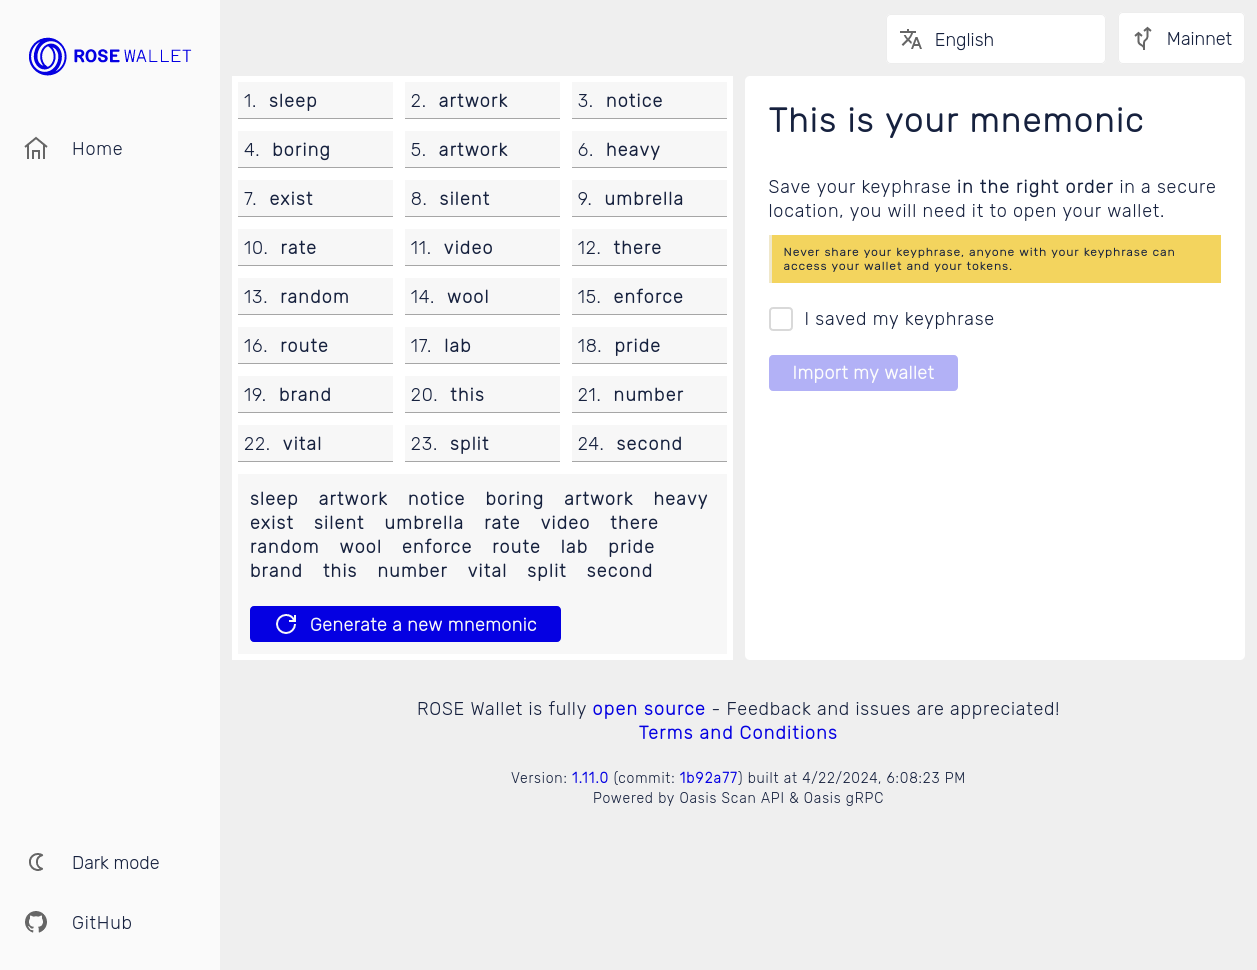
The next screen is devoted to your mnemonic—a unique list of words representing your account(s). Review the information on this page very carefully. Save your mnemonic in the right order in a secure location.
Your mnemonic (i.e. keyphrase) is required to access your wallet. Be sure to store it in a secure location. If you lose or forget your mnemonic, you will lose access to your wallet and any token funds contained in it.
Anyone with your mnemonic can access your wallet and your tokens.
After you’ve saved your mnemonic, click the “I saved my keyphrase” checkbox and then click on the “Import my wallet” button.
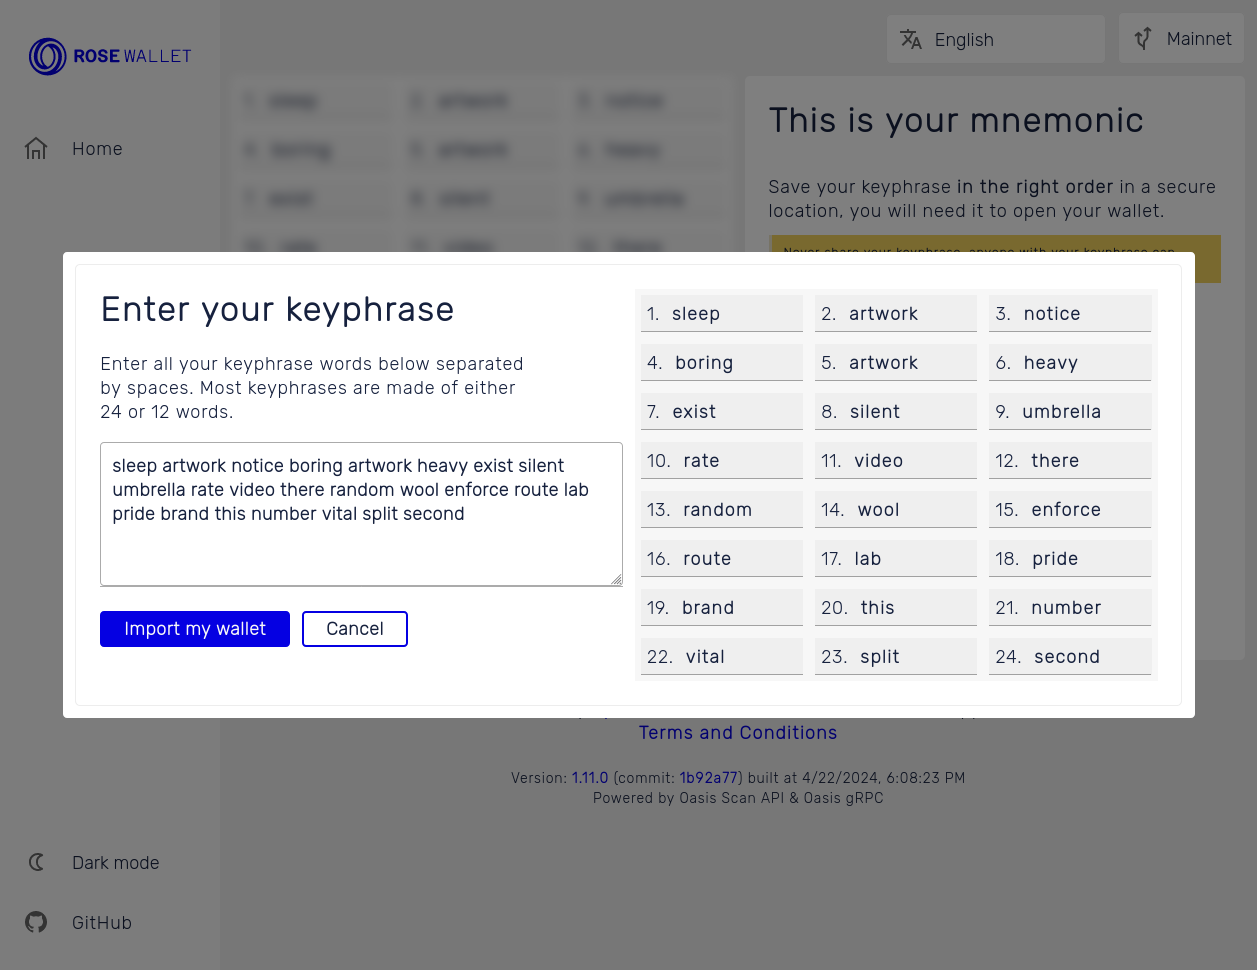
Next, you will need to confirm your mnemonic by writing the mnemonic into the text area. The Oasis wallet will check for any typos and missing words. When done click the "Import my wallet" button.
Account Derivation
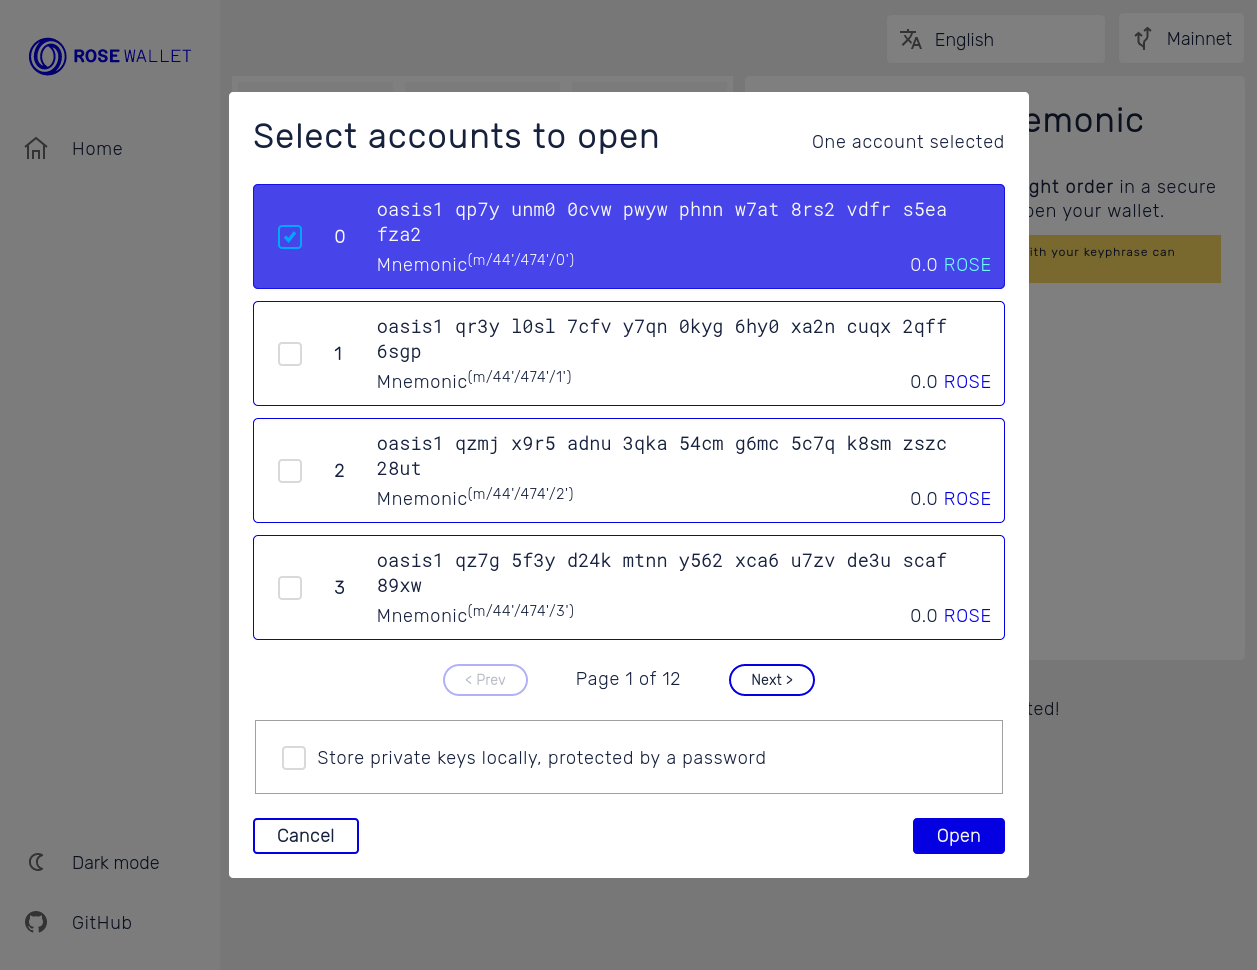
If you correctly entered the mnemonic the account derivation popup
will appear containing a list of oasis1 addresses with their
balances on the right. These are the accounts derived from your
mnemonic based on the ADR-8 derivation scheme. Select one or more
accounts and click the "Open" button to import them into your wallet.
User Profile
If you want to permanently store the keys of selected accounts, select the "Store private keys locally, protected by a password" box. After entering a password below, this will instantiate a profile inside the local store of your browser to safely store your keys. To access them, you will need to enter the correct password each time you will open the Oasis Wallet - Web.
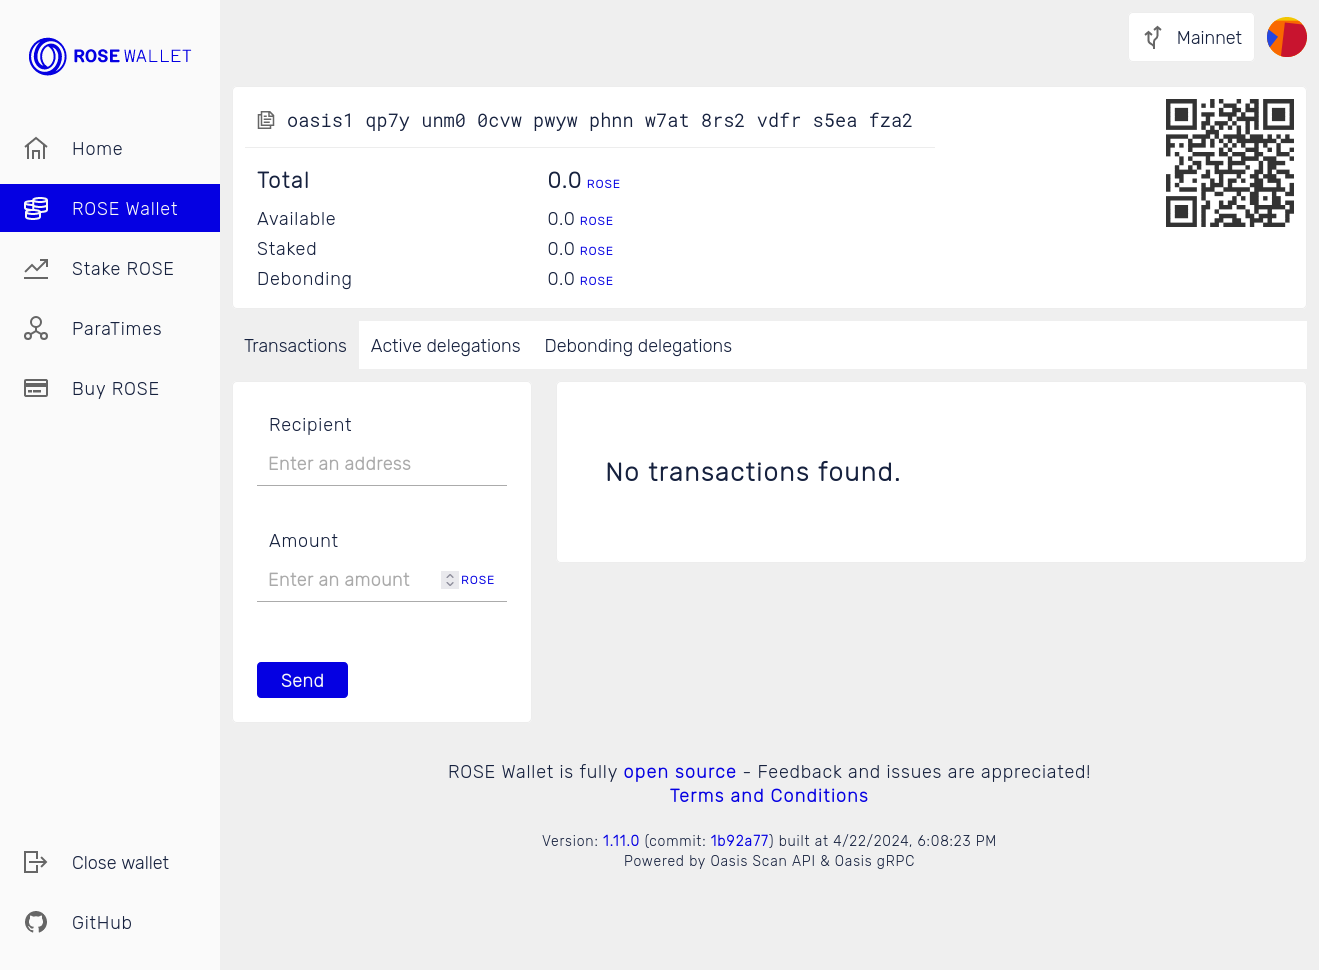
Finally, you will be taken to the Wallet screen, containing information about your account balance, recent transactions and more.
Import an Existing Account
On the "Open wallet" page select whether you want to open your wallet via a mnemonic, a private key, or a Ledger hardware wallet.
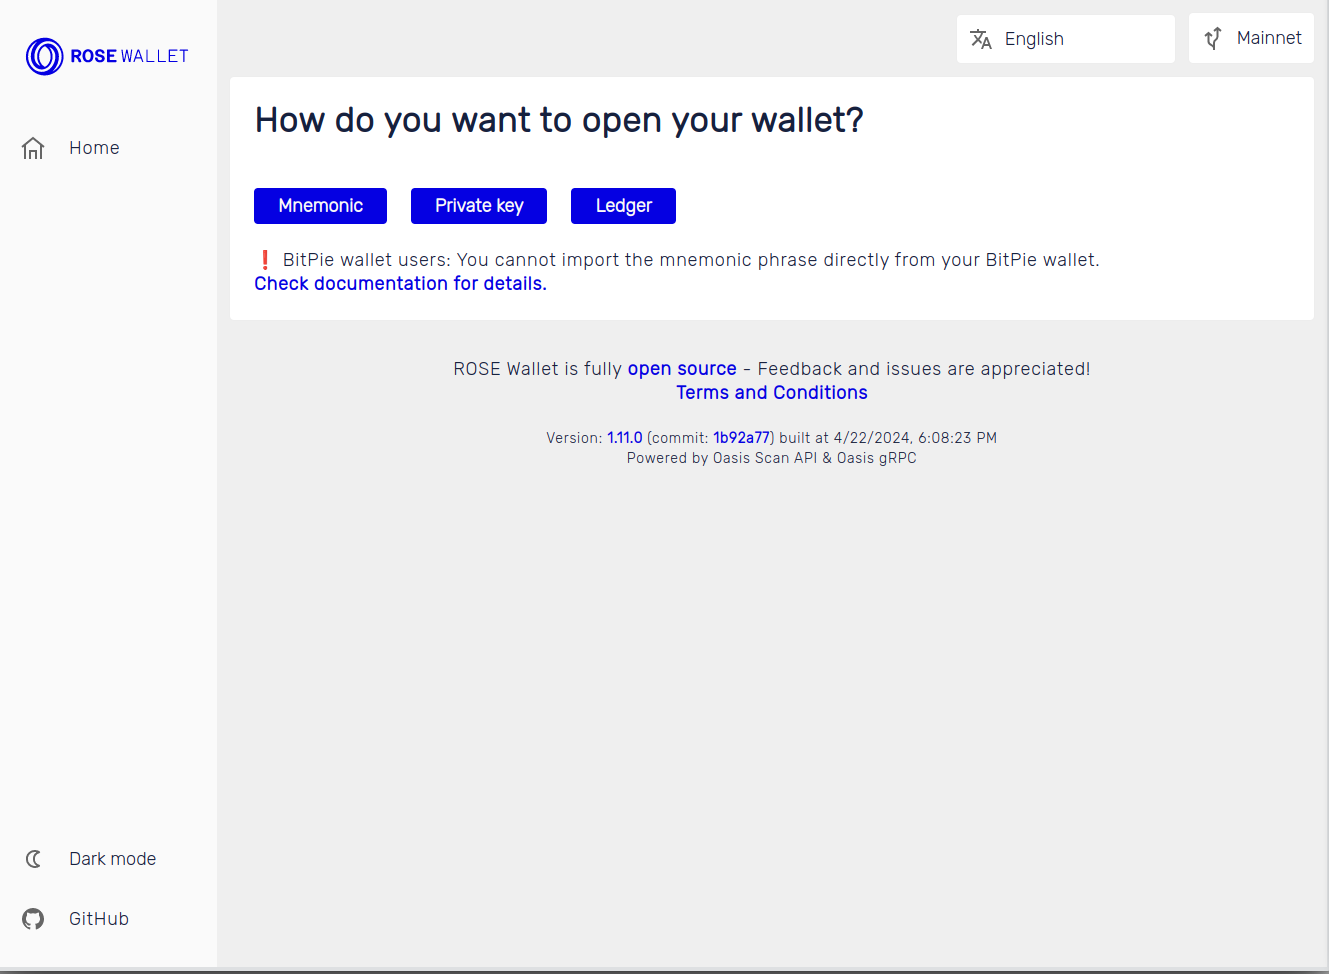
- Mnemonic
- Private Key
- Ledger
In the "Enter your keyphrase here" field, enter each word of your mnemonic separated by a space. Then, hit the "Import my wallet" button.
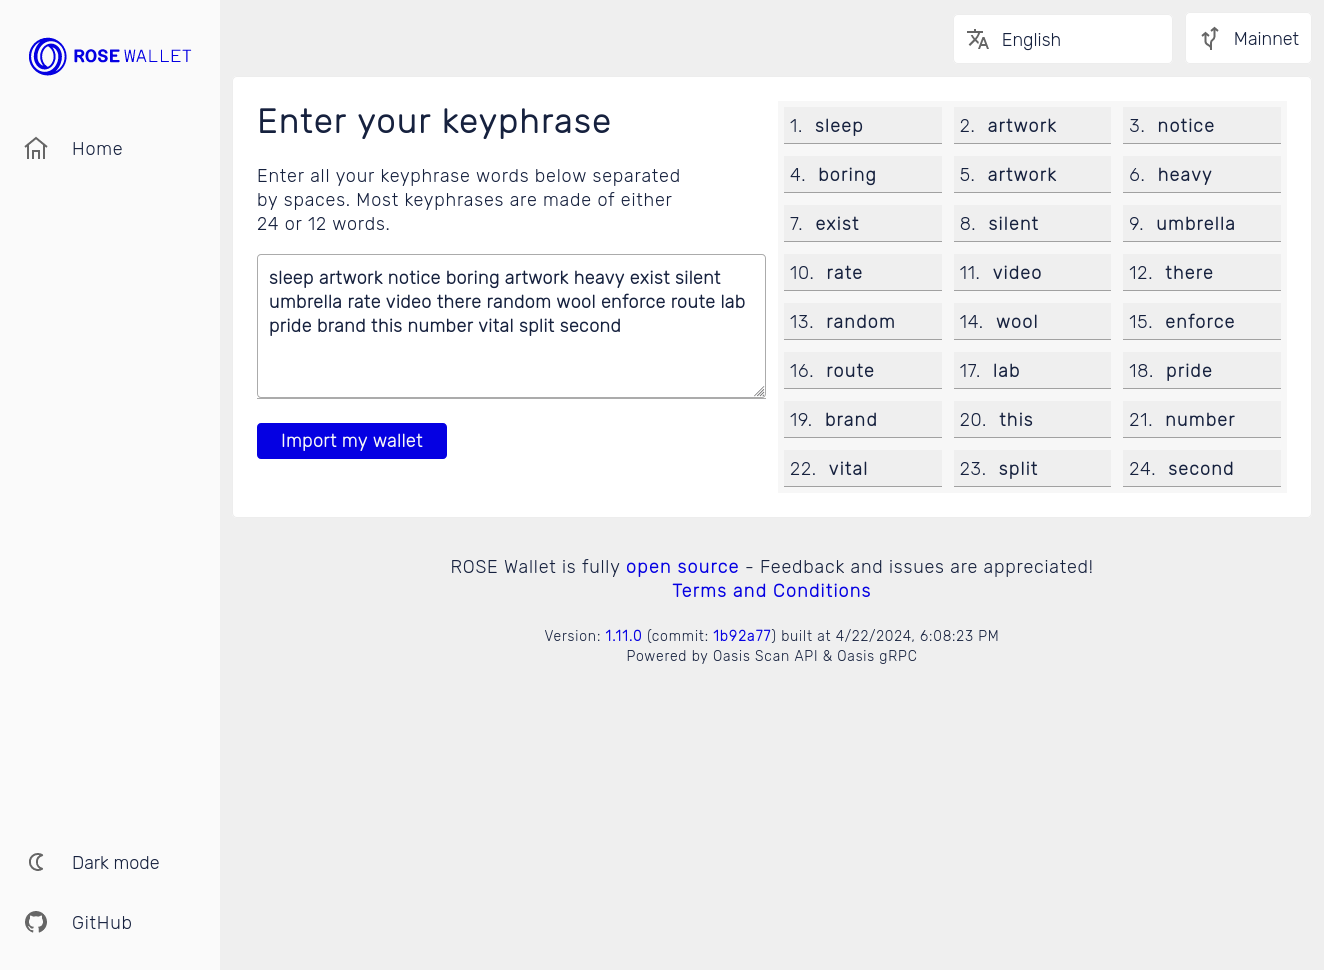
The account derivation popup will be shown where you can pick one or more derived accounts to import.
Paste your Base64-encoded Ed25519 private key in the "Enter your private key here" field and then click on the "Import my wallet" button.
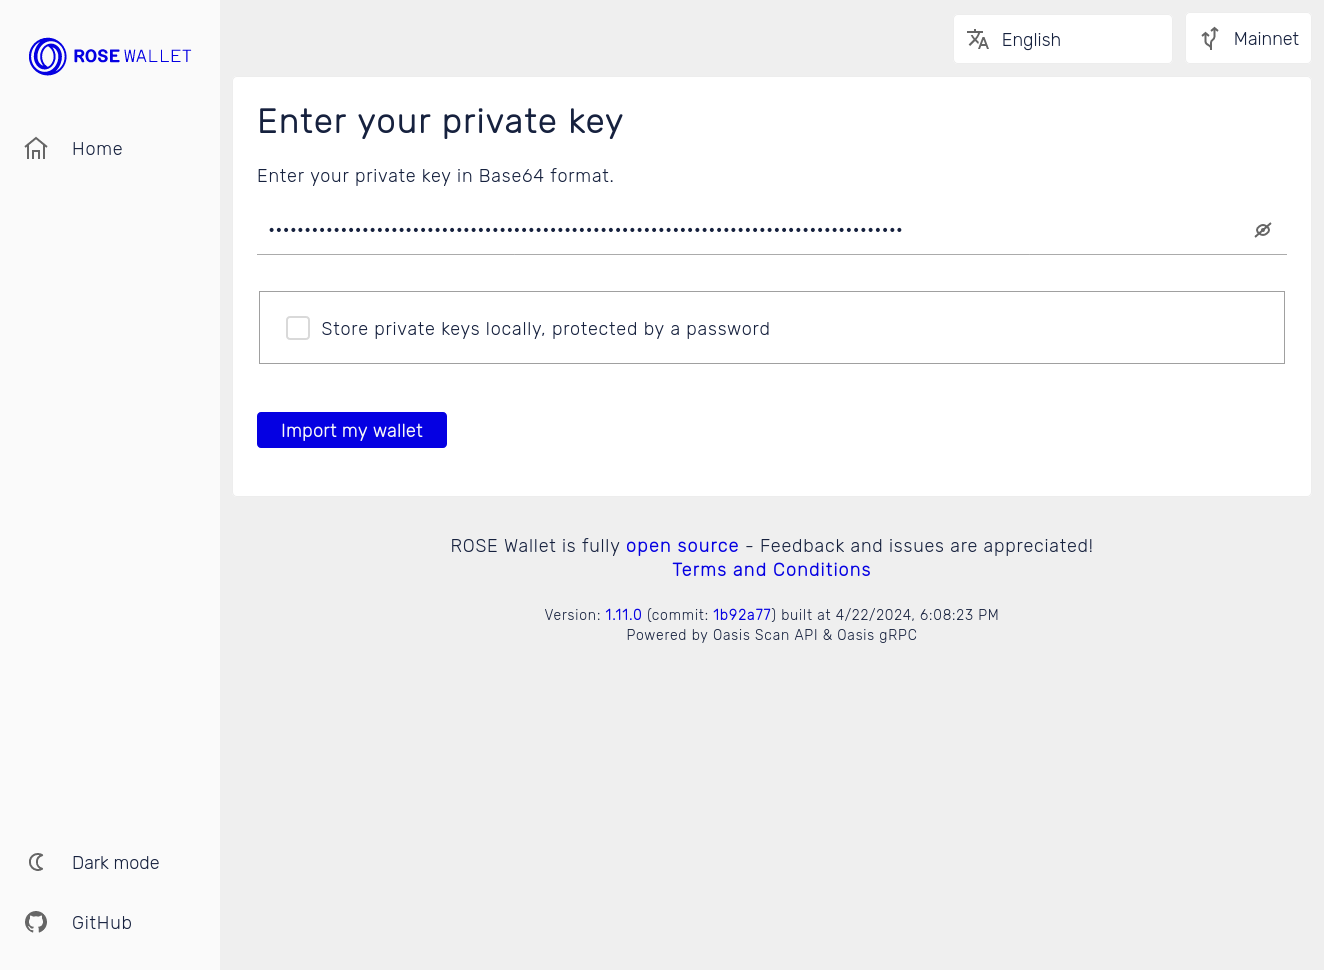
Selecting "Store private keys locally, protected by a password" will instantiate the user's profile.
The 64 bytes long keypair is the preferred format for importing your account. It consists of two 32-byte parts:
- The first part is the private key used for signing the transactions (e.g. for sending tokens from your account).
- The second part is a public key used to verify the signatures
of your transactions and also derive your account's address of the form
oasis1....
If you entered the 64-byte keypair then the wallet checks whether the public key corresponds to its private counterpart. If you mistyped any character, the wallet will not allow you to proceed.
However, if you only typed in the first 32-byte part there is **no error detection possible. It is imperative that you correctly input all characters and not mix similar characters like the big O and 0 or big I and 1! If unsure, we suggest that you perform a test transaction the first time you import your wallet from the private key so you can rest assured the key is valid.
To use the Ledger hardware wallet, make sure you have your Ledger device readily available and have familiarized yourself with the Oasis-specific Ledger usage instructions.
Next, click on the "Select accounts to open". If this is the first time you're using Ledger with your browser, a system popup will appear showing the list of Ledger devices connected to your computer and requesting permission to use it. Select one and then click the "Connect" button.
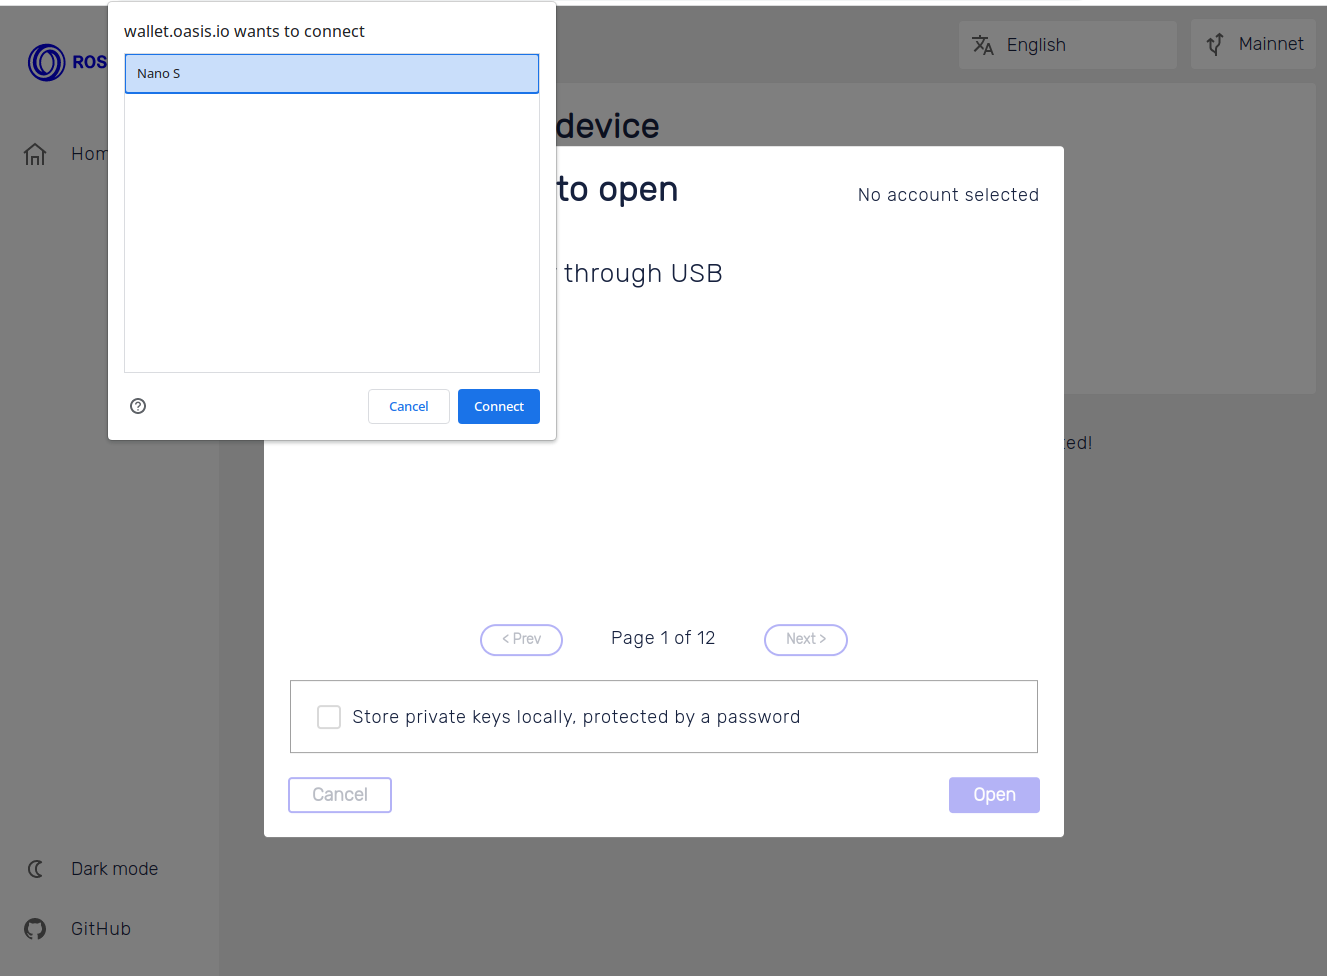
The account derivation popup will be shown next, where you can pick one or more derived accounts to import.
To date, only Chromium-based browsers support WebUSB component which is required to access your Ledger device.
Finally, you will be taken to your Wallet screen, containing information about your account balance, recent transactions and more.
Transfer
- Send tokens
- Receive tokens
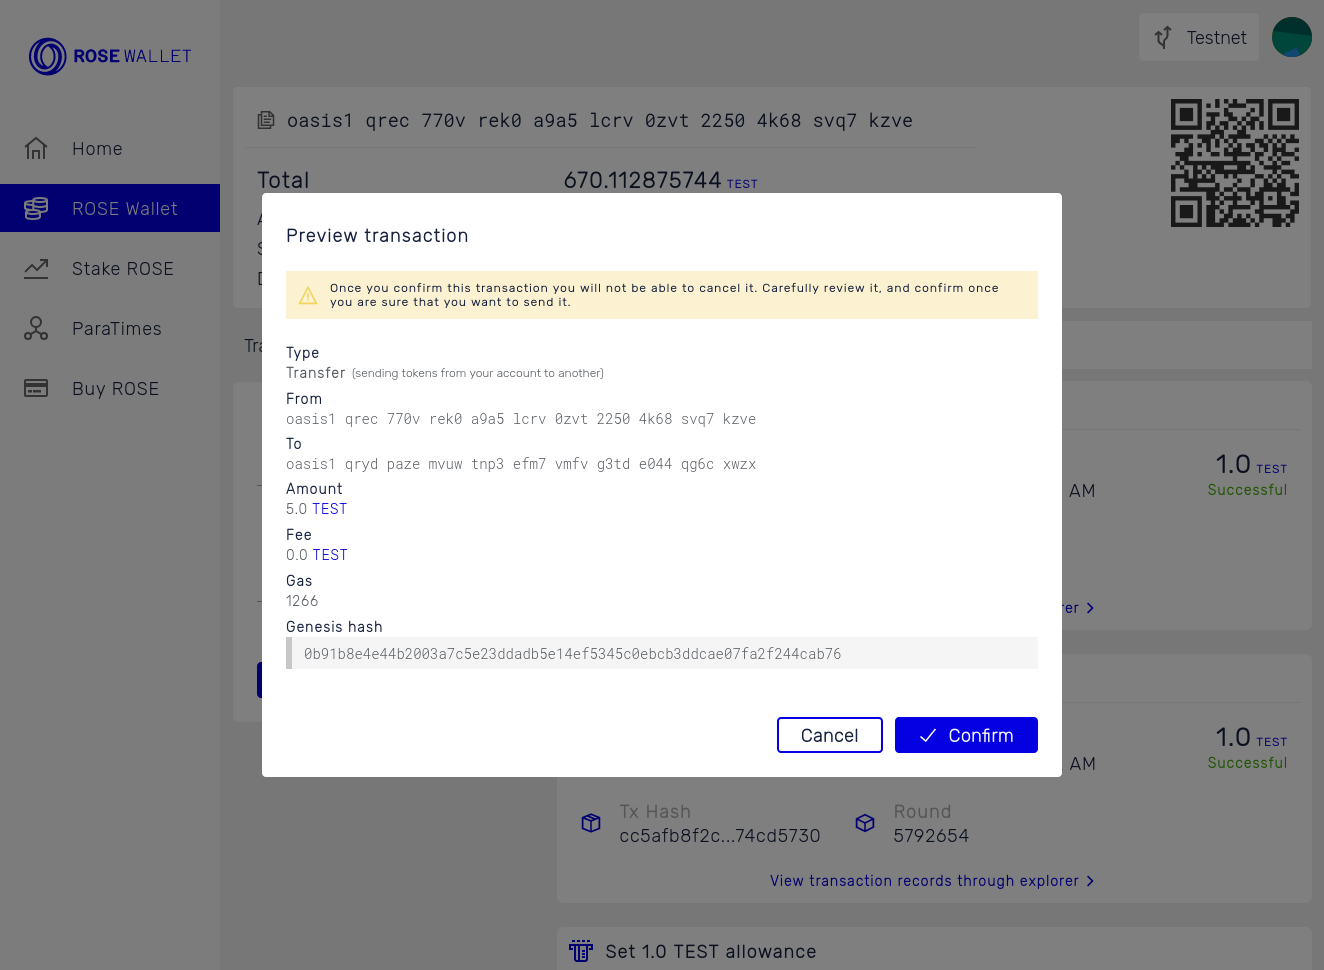
To transfer tokens, open the Wallet screen. Fill in the "Recipient" and "Amount" fields and click "Send". A confirmation popup will appear showing transaction details. Carefully review the transaction and click the "Confirm" button.
To receive tokens, open the Wallet screen and copy the oasis1 account
address at the top. You can also scan or store a QR code corresponding to your
account on the right side of the screen.

Stake
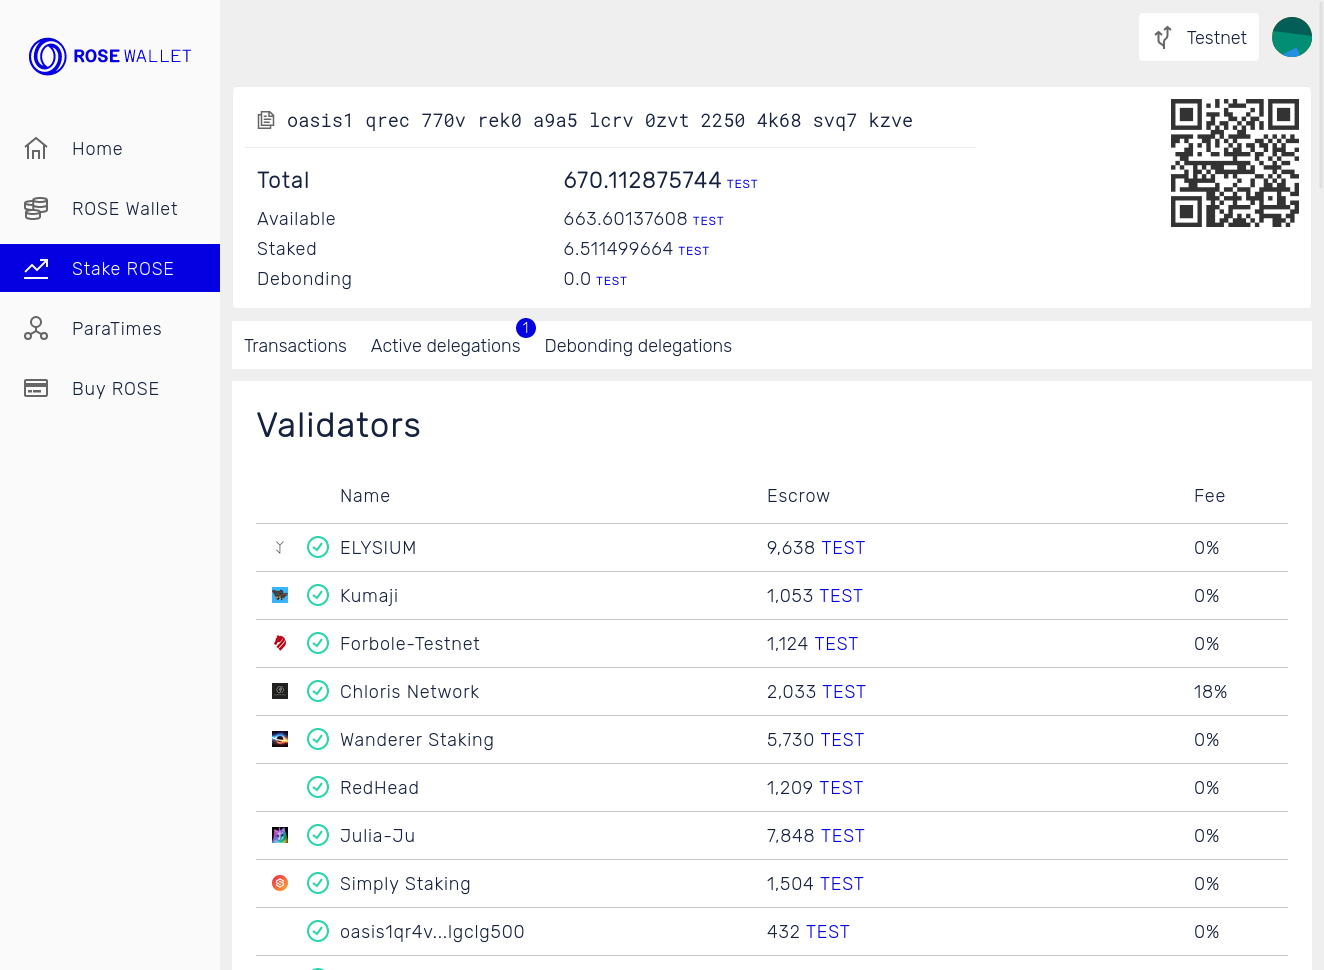
To stake your tokens open the Stake screen. The list of validators will appear, their status, current escrow and the commission fee. Follow the sections below to delegate or undelegate your tokens.
- Delegate
- Undelegate
-
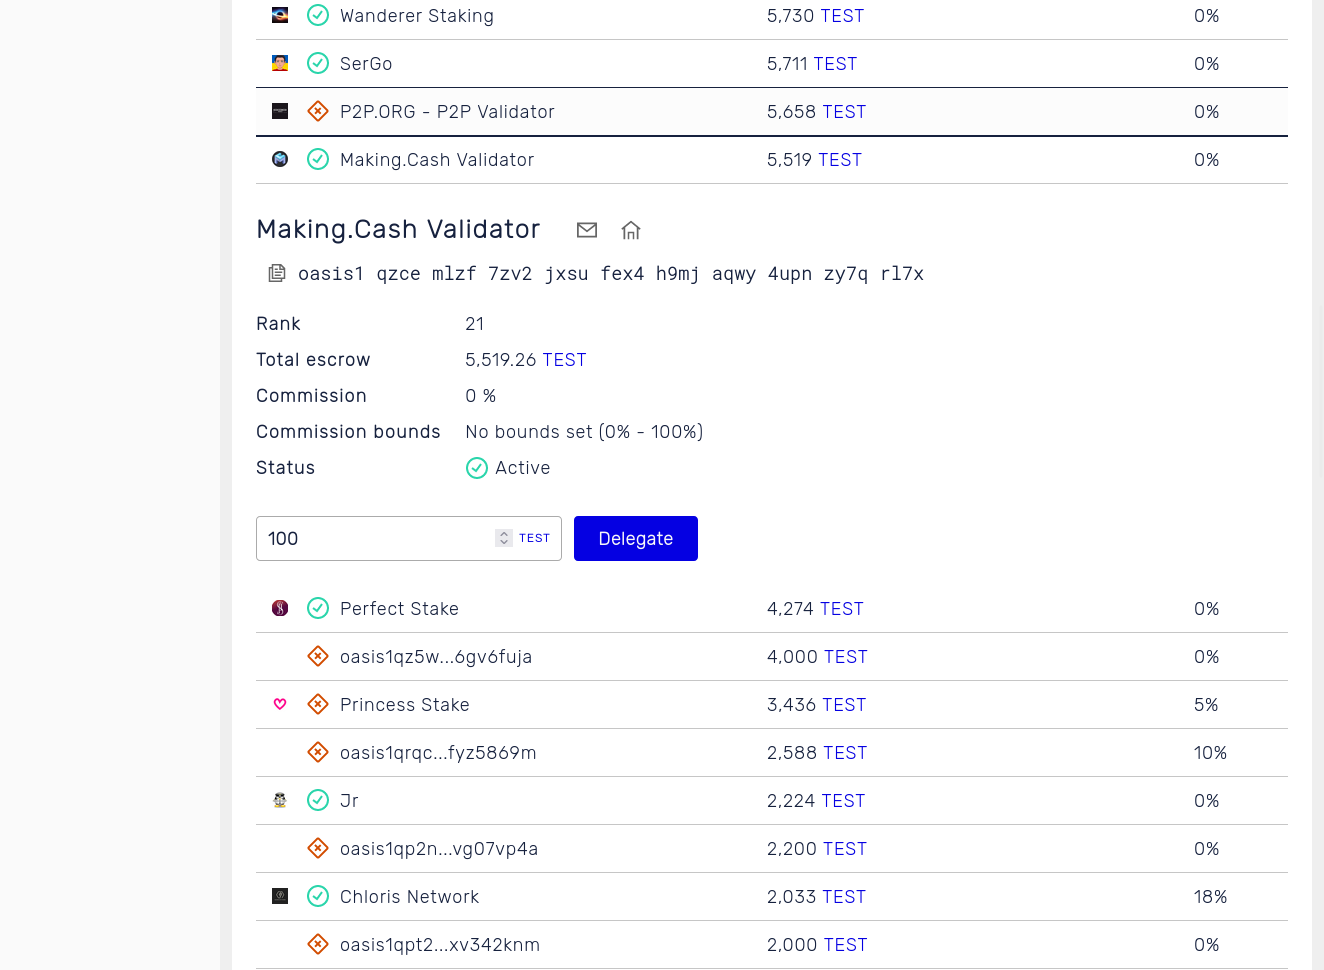
To delegate tokens, select the preferred validator you wish to delegate your tokens to by clicking on it. Fill in the amount and click the "Delegate" button.
-
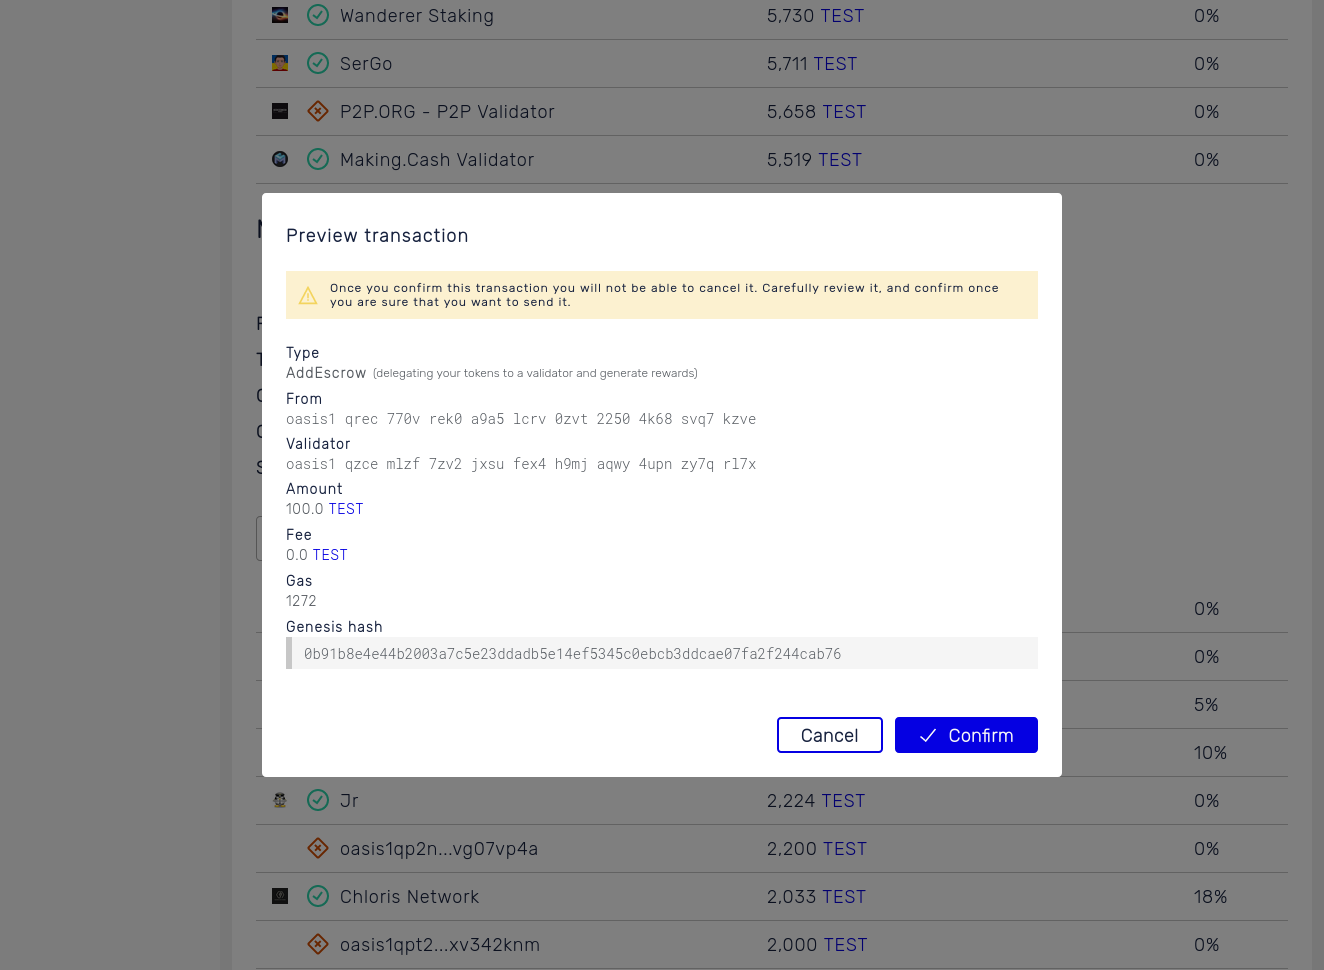
A confirmation popup will appear showing transaction details. Carefully review the transaction and click the "Confirm" button.
-
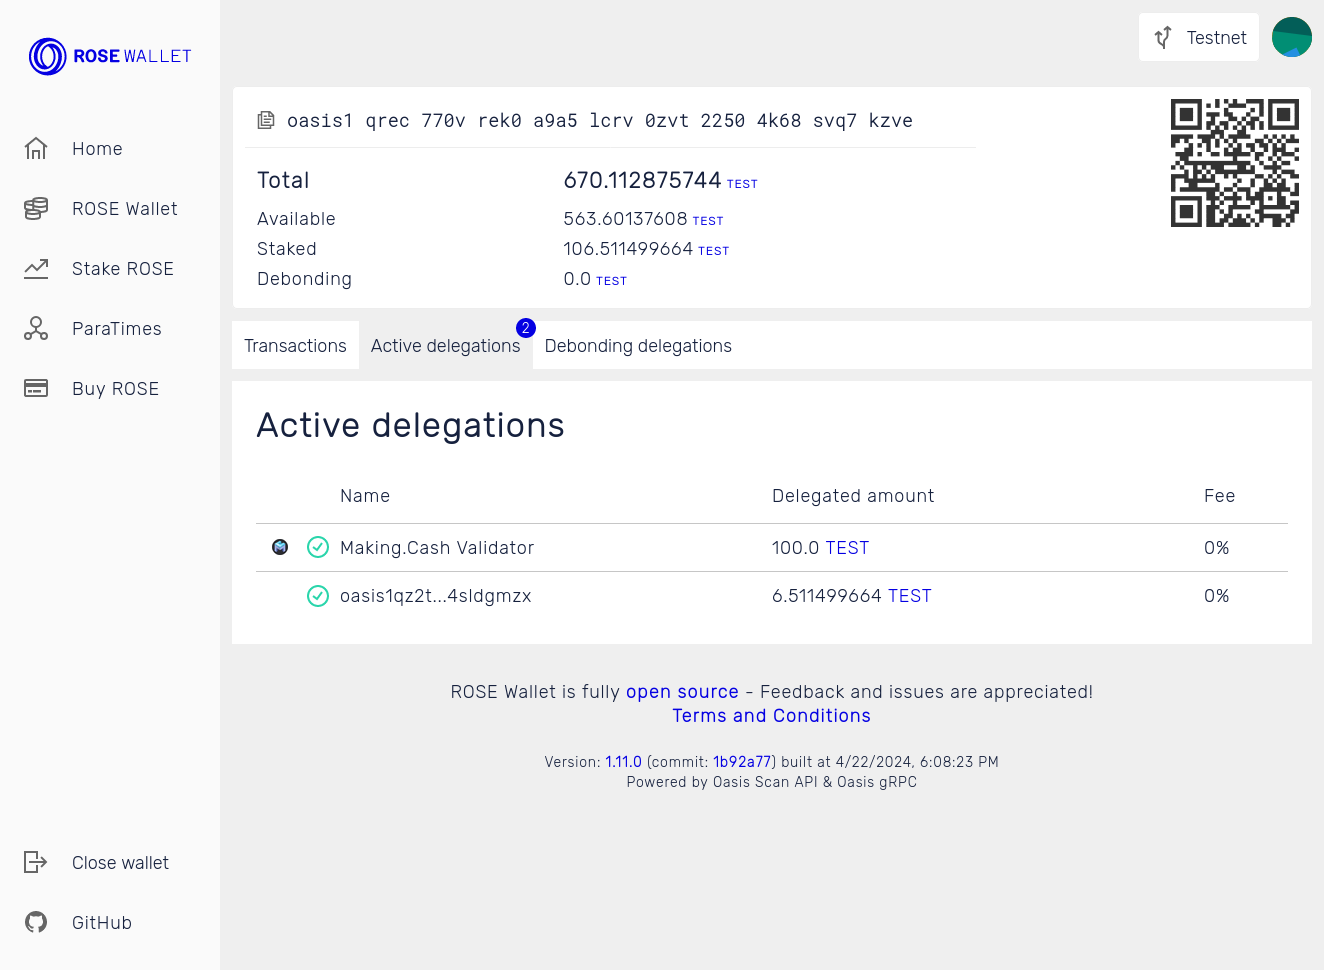
In a while, your delegated tokens will appear under the "Active delegations" tab.
-
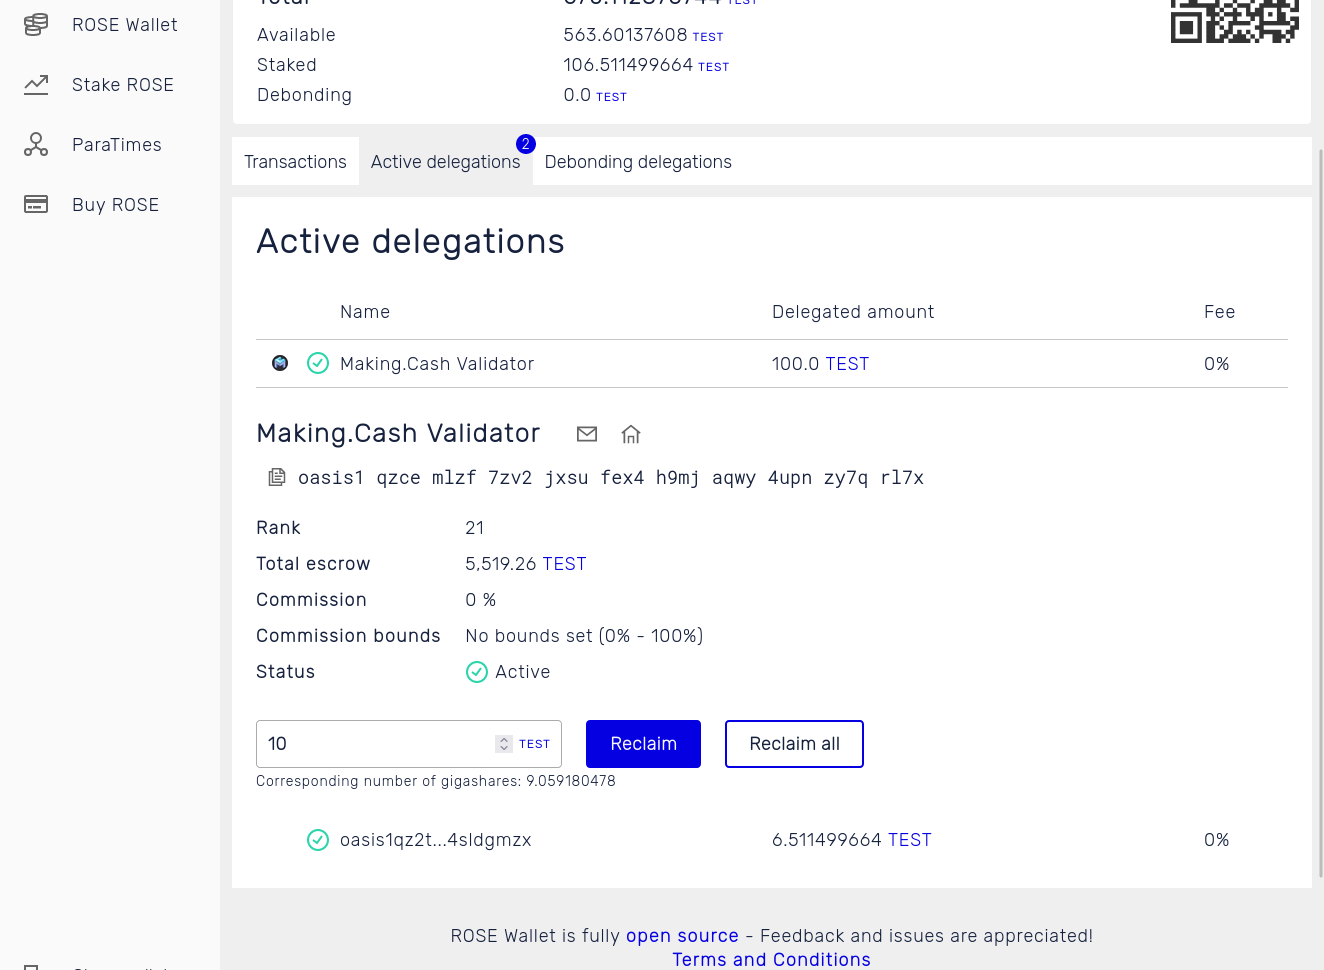
To undelegate, click on a validator in the "Active delegations" tab, enter the amount of tokens you wish to undelegate and click "Reclaim". You can also click the "Reclaim all" button to undelegate all delegated tokens from this validator.
-
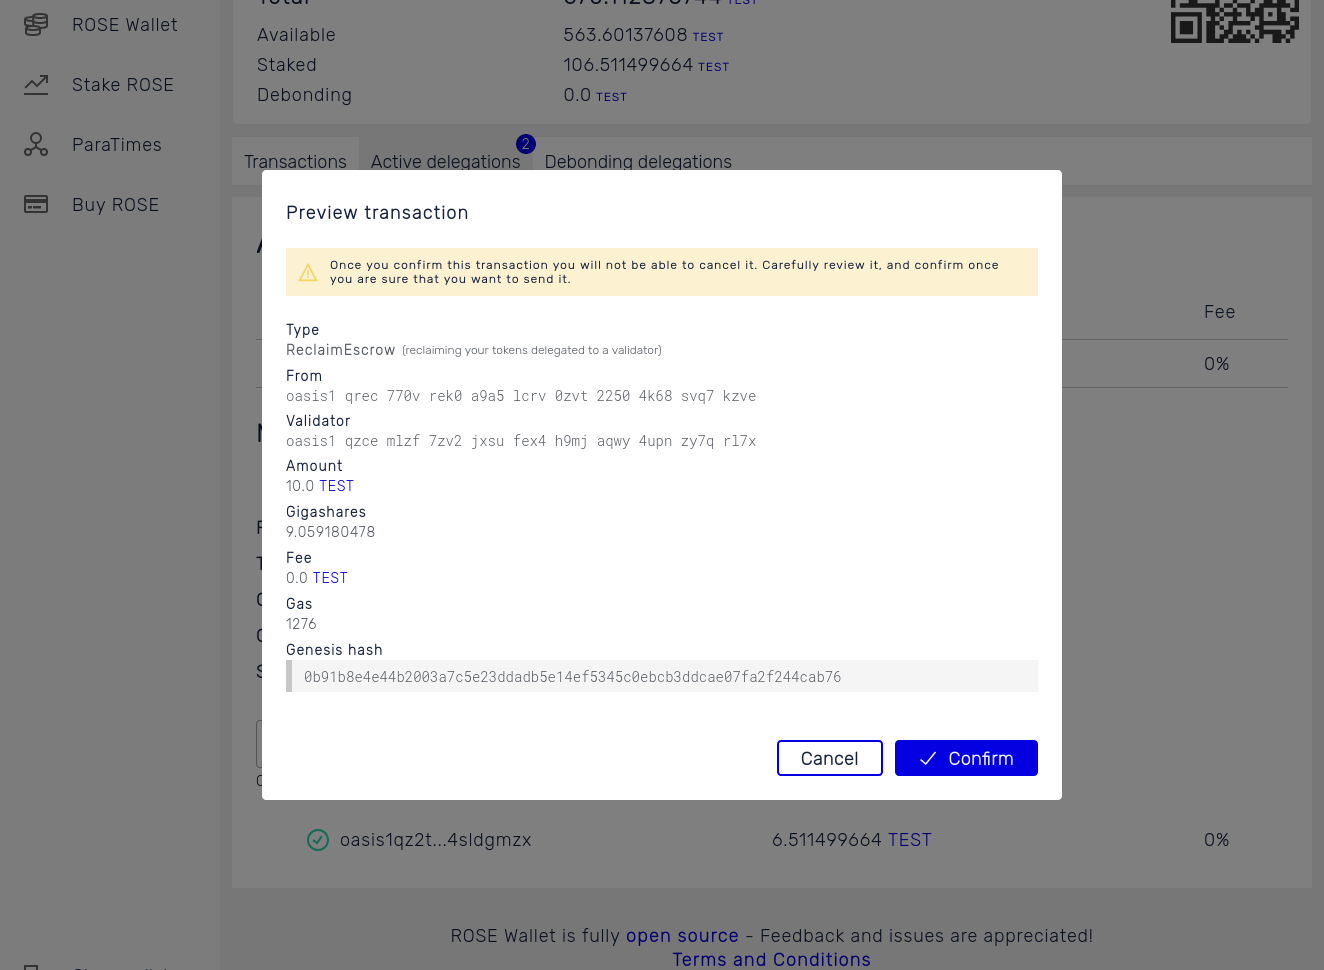
A confirmation popup will appear showing transaction details. Carefully review the transaction and click the "Confirm" button.
-
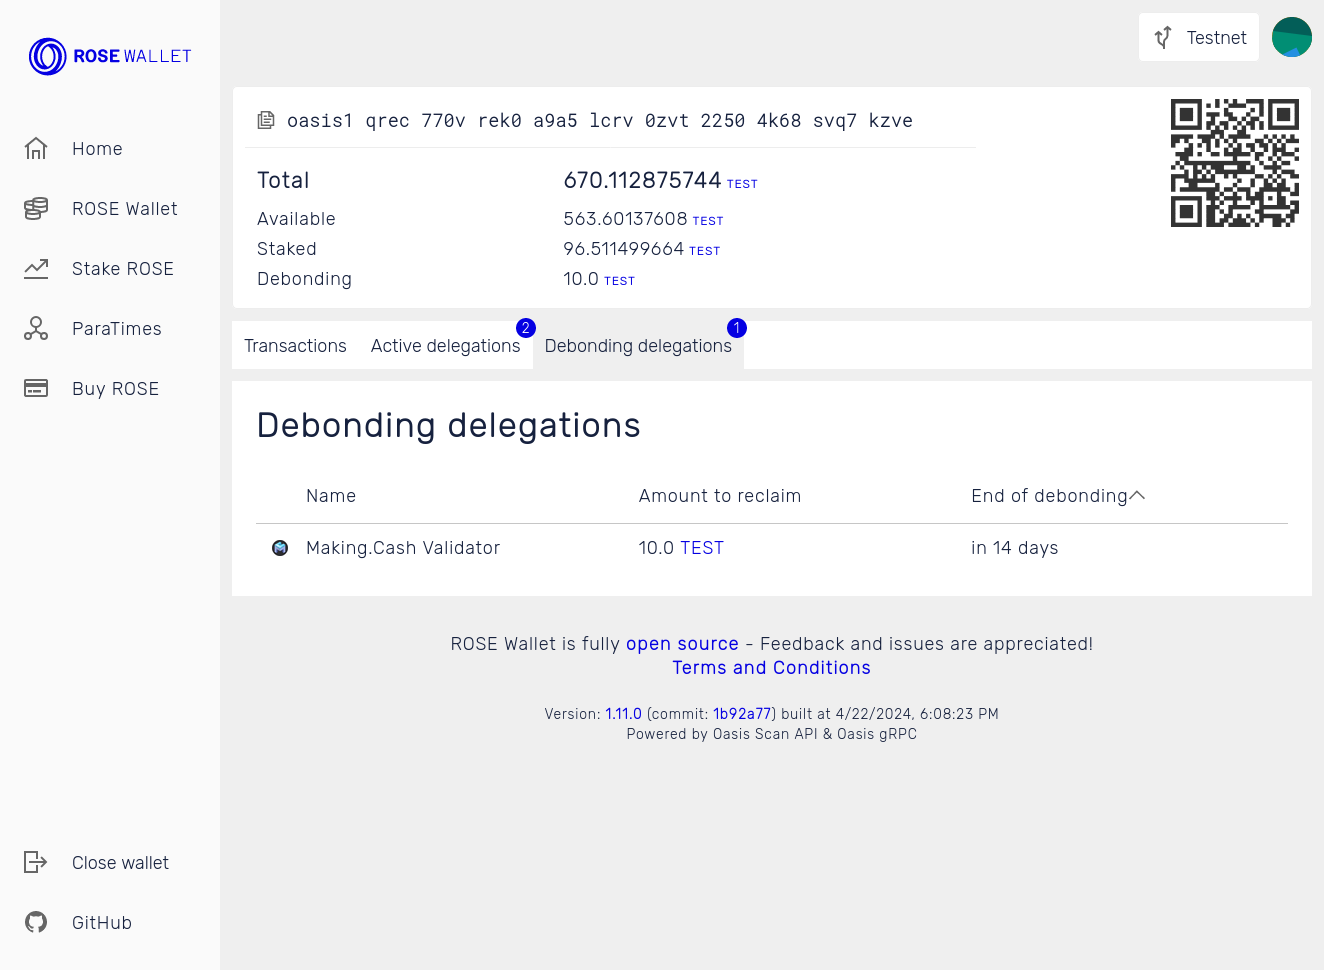
In a while, your undelegated tokens will enter the debonding period. You can check out all the delegations that are in the debonding period in the "Debonding delegations" tab.
ParaTimes
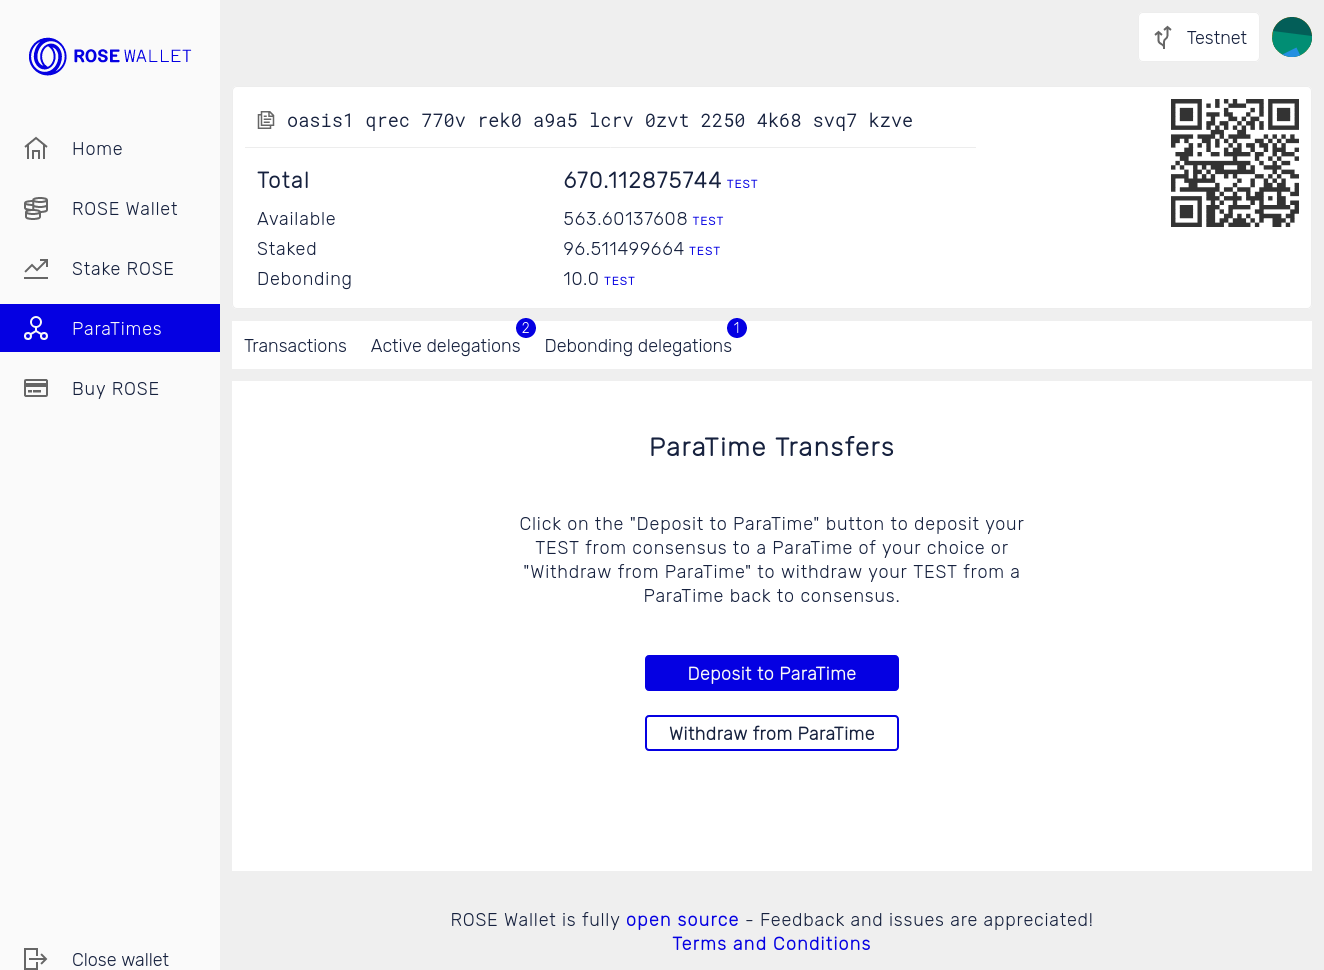
To move tokens from the consensus layer to a ParaTime (deposit) or the other way around (withdrawal), open the ParaTime screen. Click on the "Deposit to ParaTime" or "Withdraw from ParaTime" button and follow the sections below.
- Deposit
- Withdraw
-
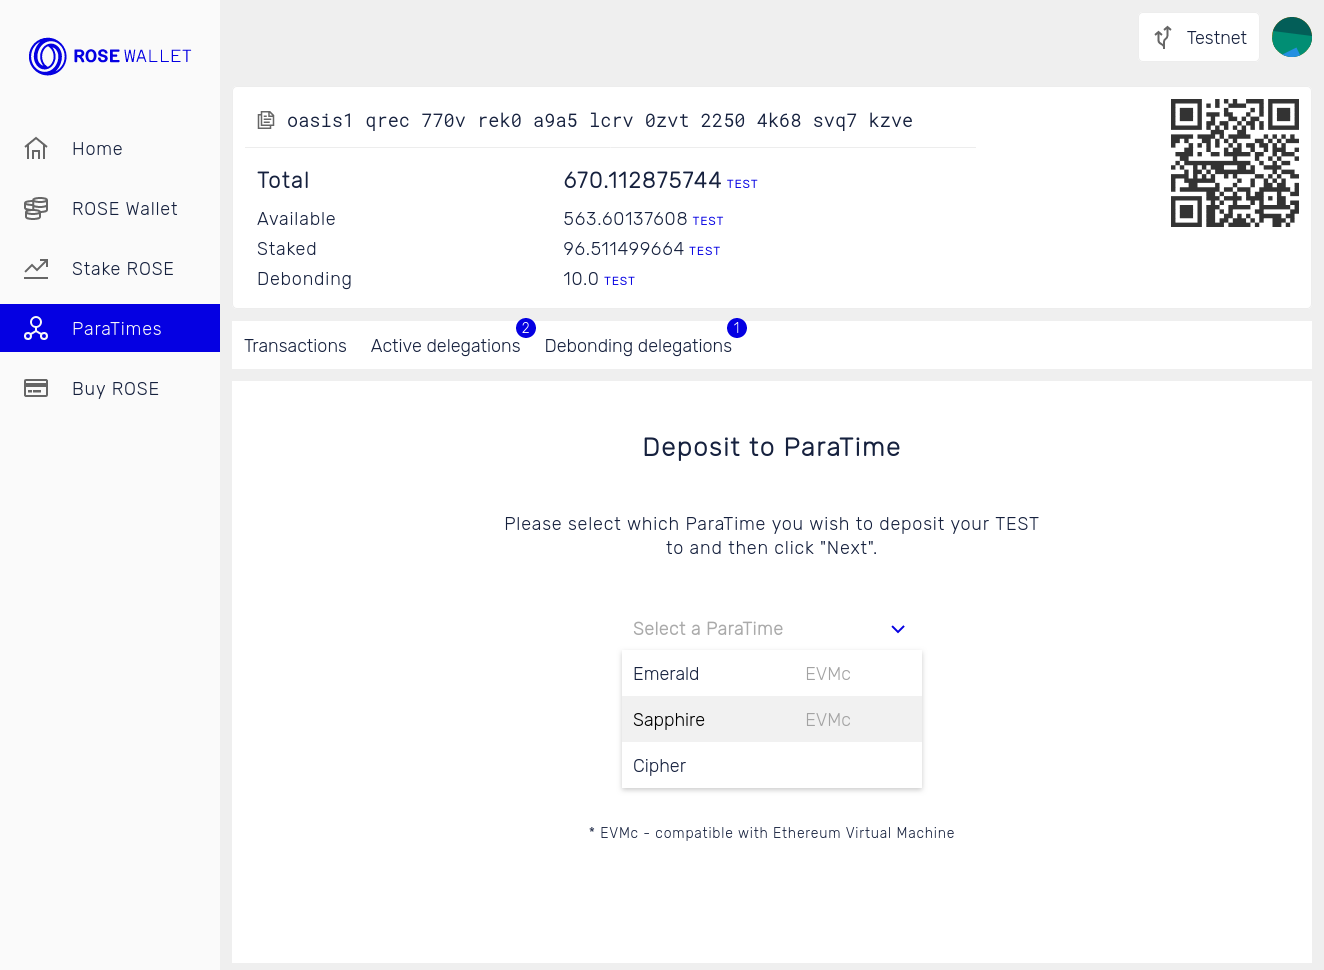
Select the ParaTime you wish to deposit your tokens to and click "Next".
-
Enter the recipient address in the ParaTime. For EVM-compatible ParaTimes you will need to enter a hex-encoded address starting with
0xand for other ParaTimes the Oasis native address starting withoasis1. Click "Next".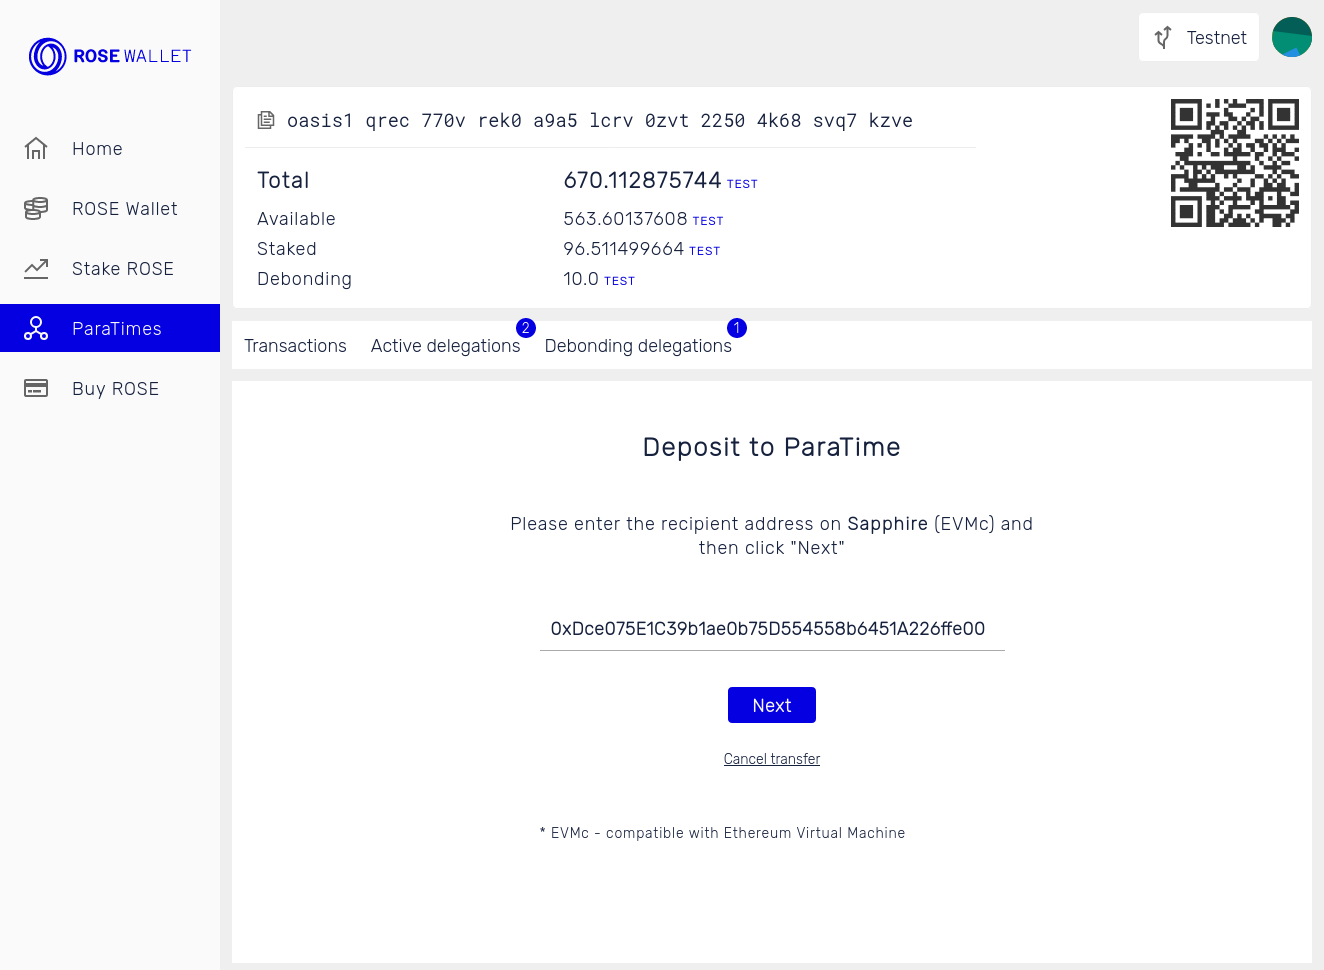
-
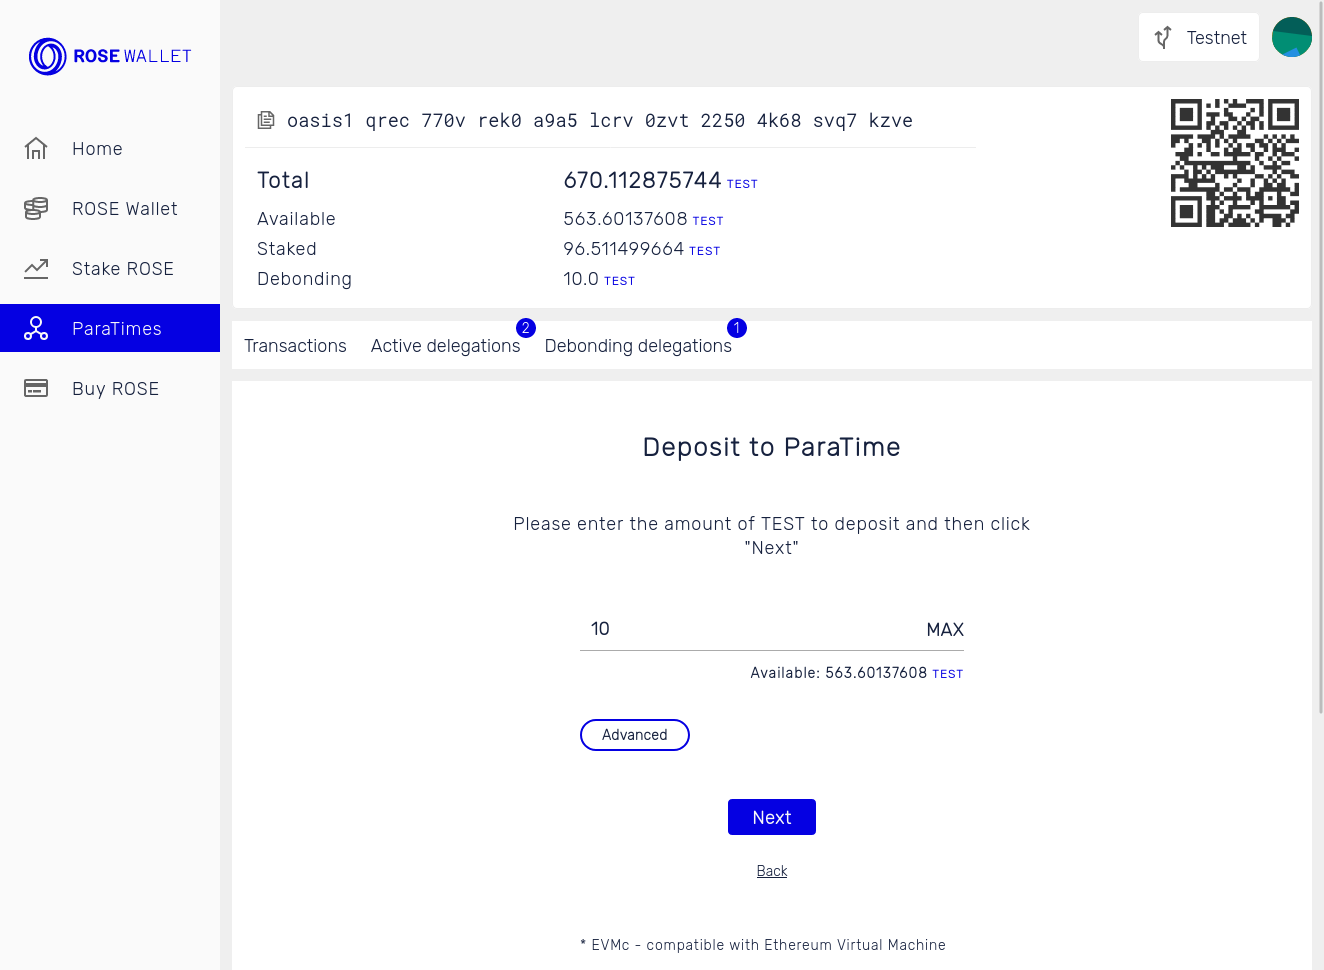
Enter the amount to deposit.
The gas fee and price will automatically be computed. You can toggle the "Advanced" button to set it manually.
Finally, click "Next".
-
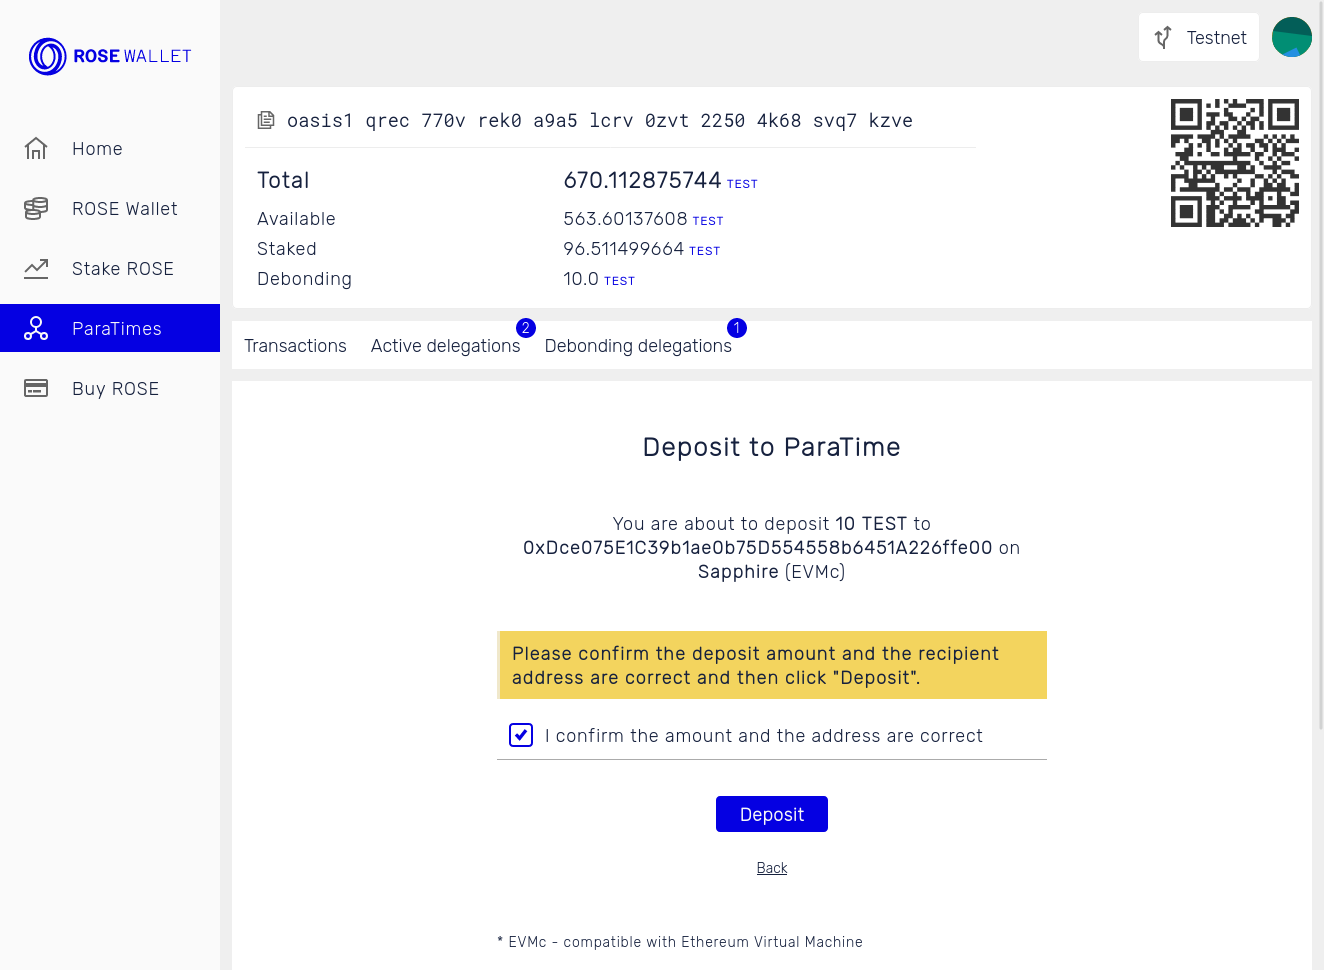
Review deposit details, check the "I confirm the amount and the address are correct" and click the "Deposit" button.
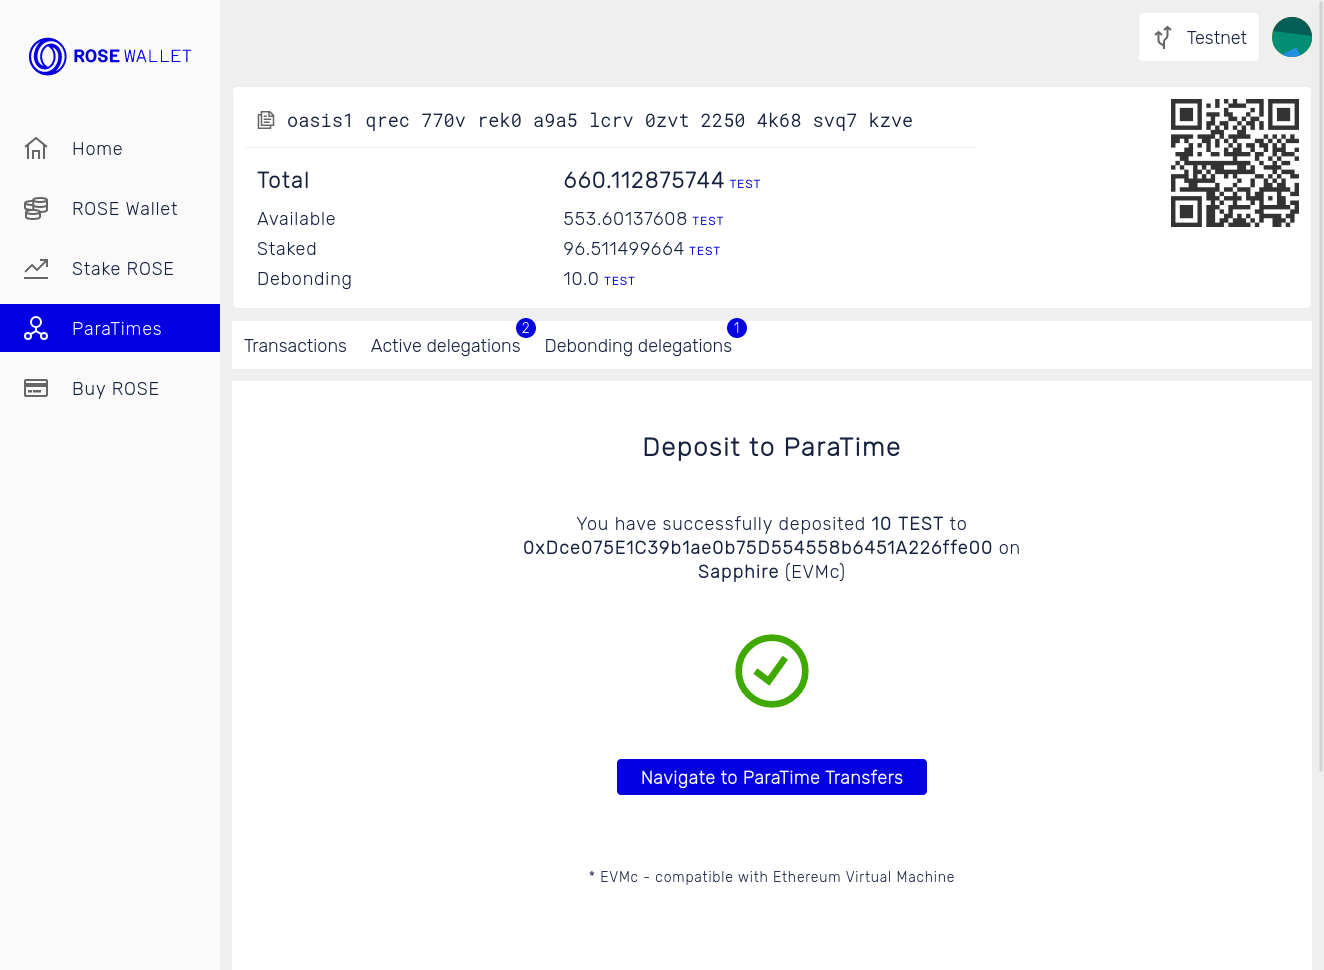
Once the deposit transaction is confirmed the tokens will appear on your ParaTime account.
-
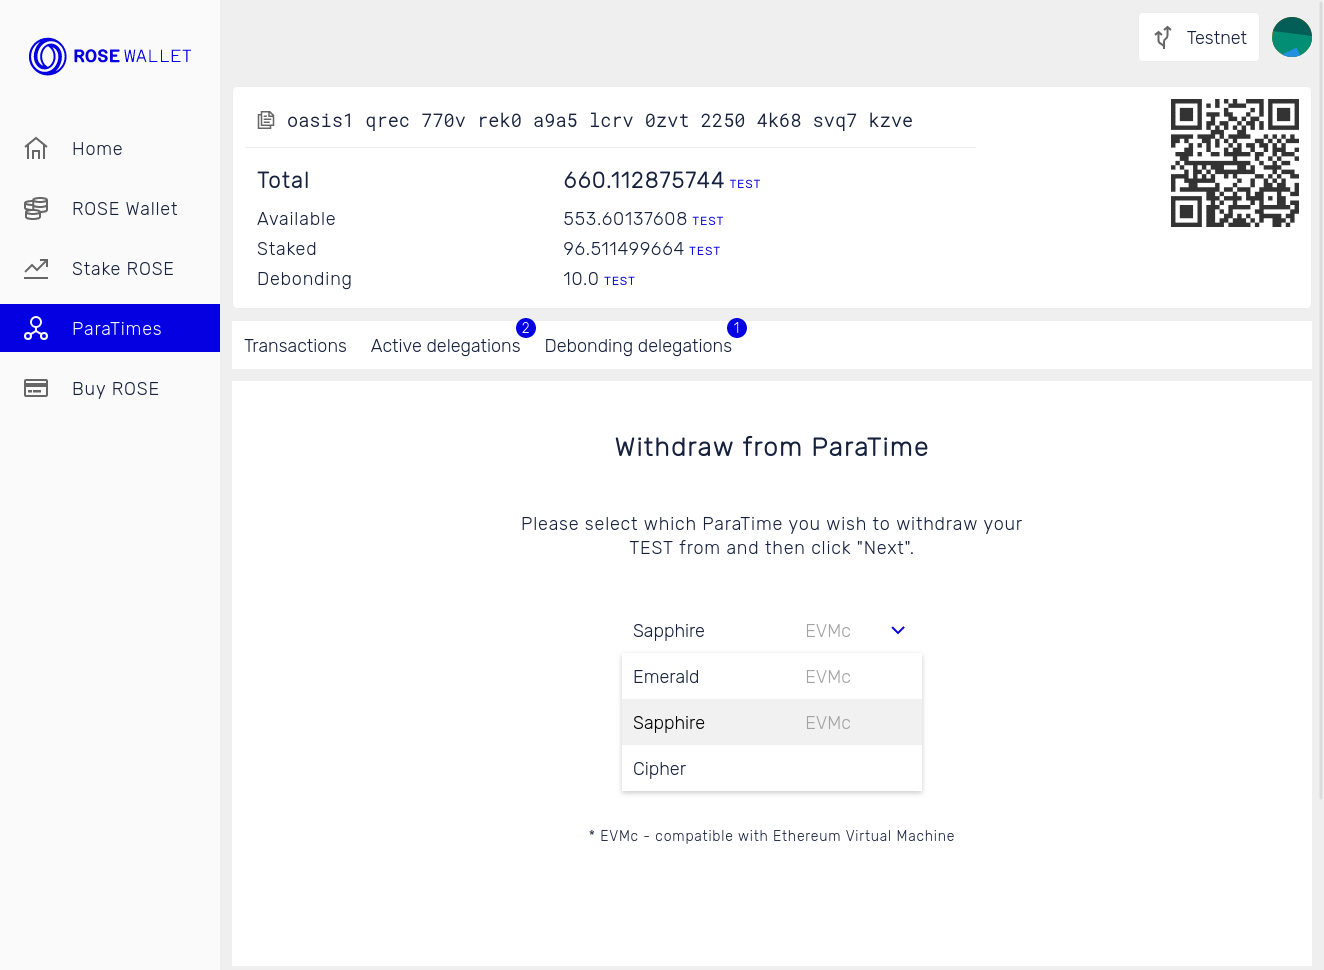
Select the ParaTime you wish to withdraw your tokens from and click "Next".
-
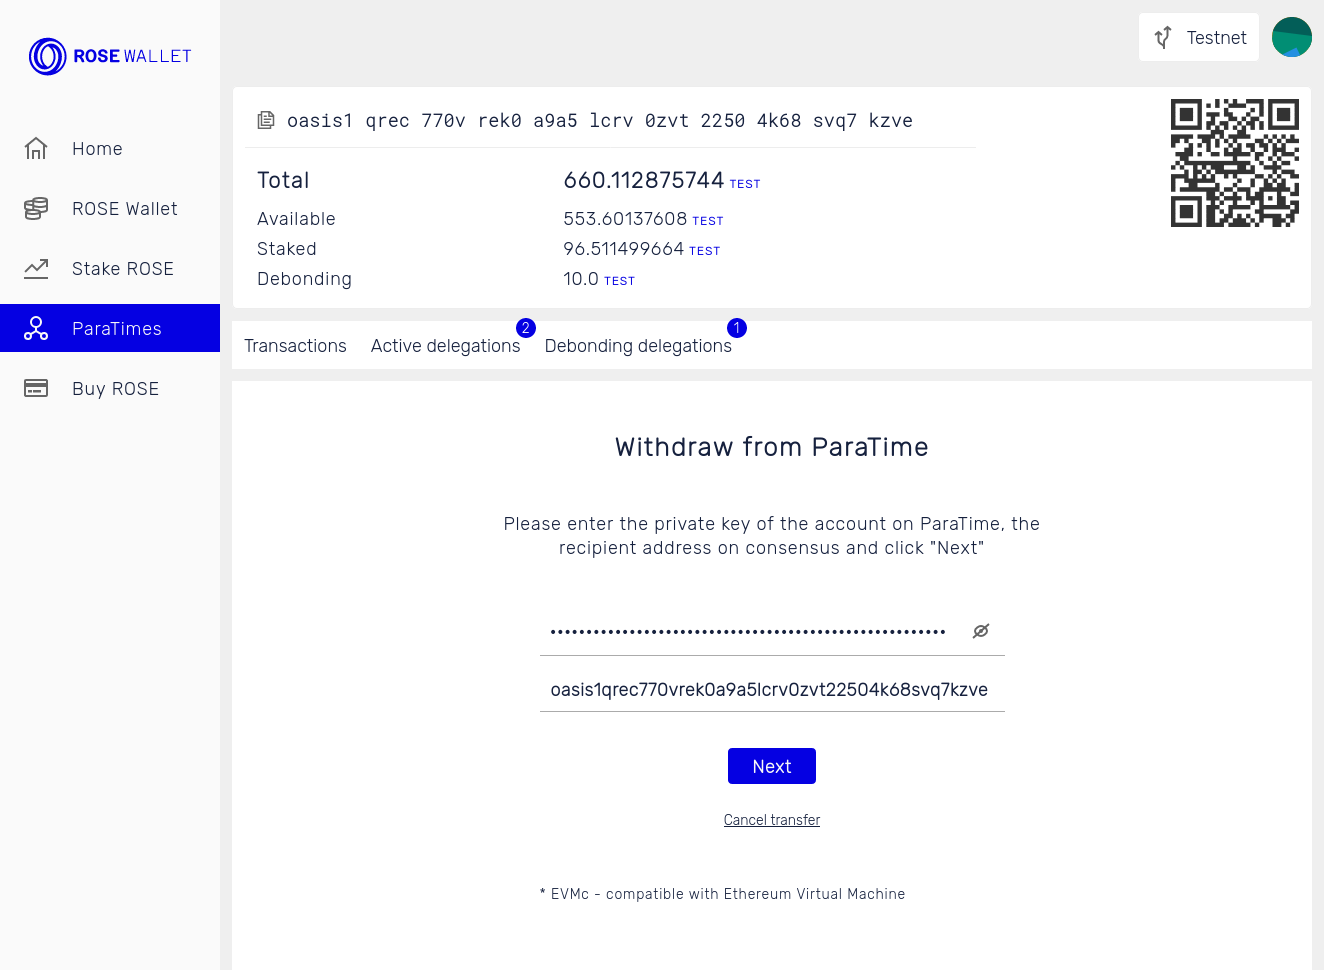
Enter the recipient address on the consensus layer below.
If the ParaTime is EVM-compatible you will also need to enter the hex-encoded private key of the account on the ParaTime which you are withdrawing from. If you are using a profile, the private key will be stored for any future withdrawals. For other ParaTimes, the withdrawal transaction will be signed with the private key of your currently selected account in your wallet.
Click "Next" to continue.
-
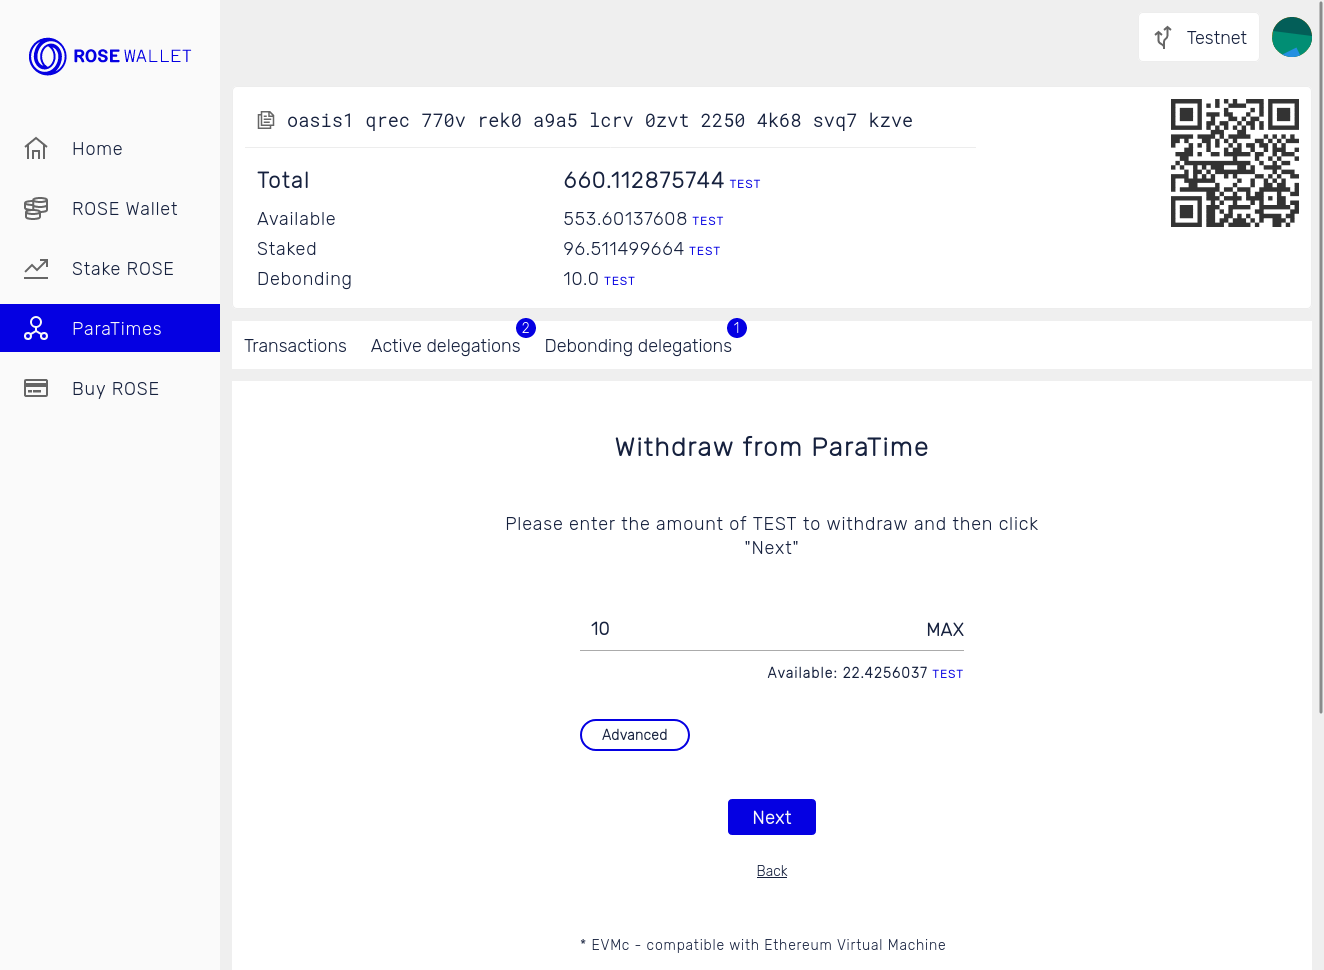
Enter the amount to withdraw.
The gas fee and price will automatically be computed. You can toggle the "Advanced" button to set it manually.
Finally, click "Next".
-
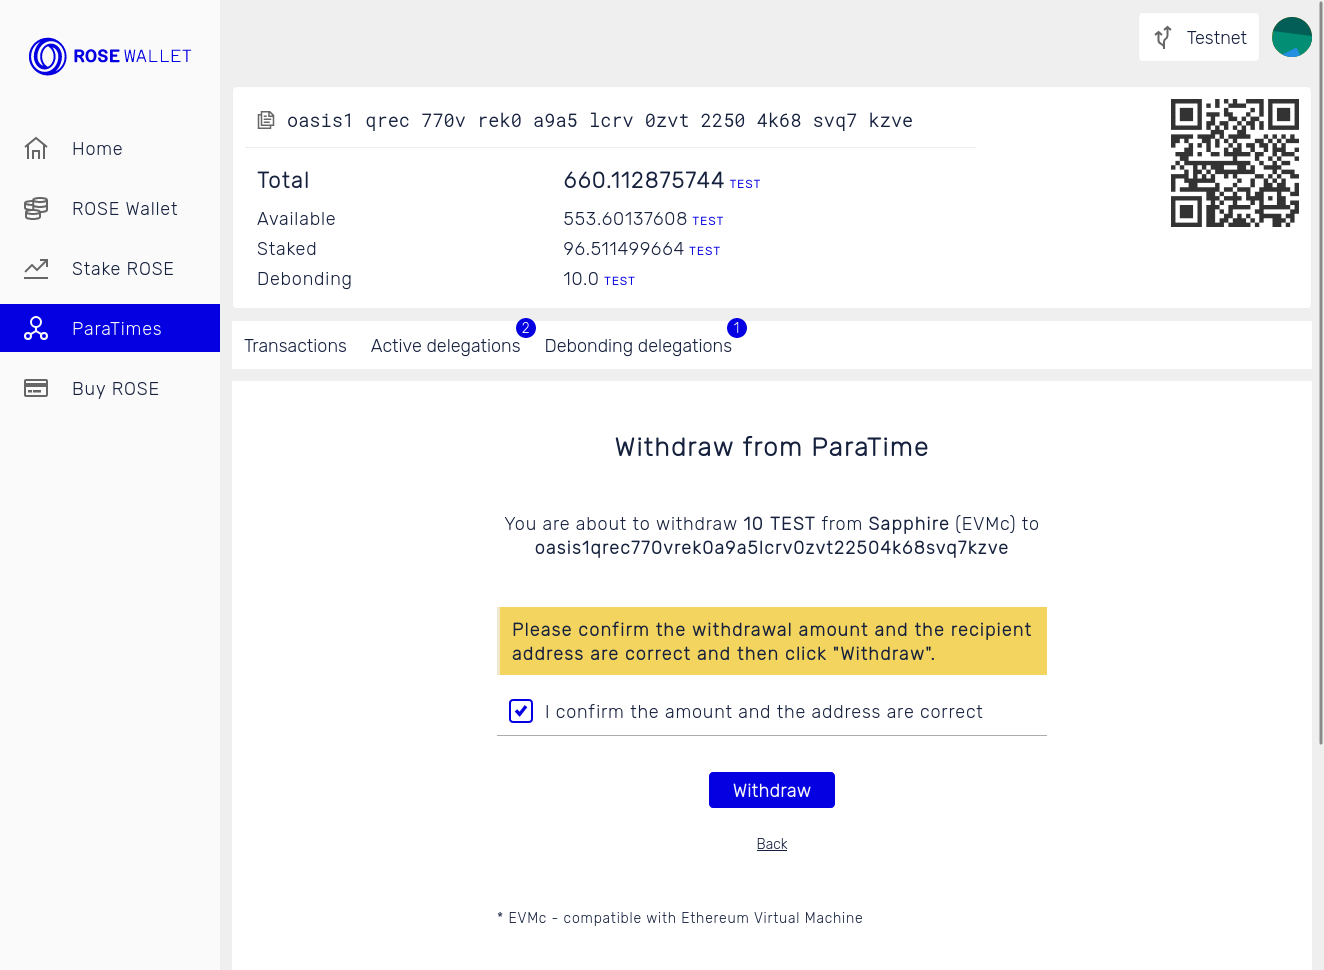
Review withdrawal details, check the "I confirm the amount and the address are correct" and click the "Withdraw" button.
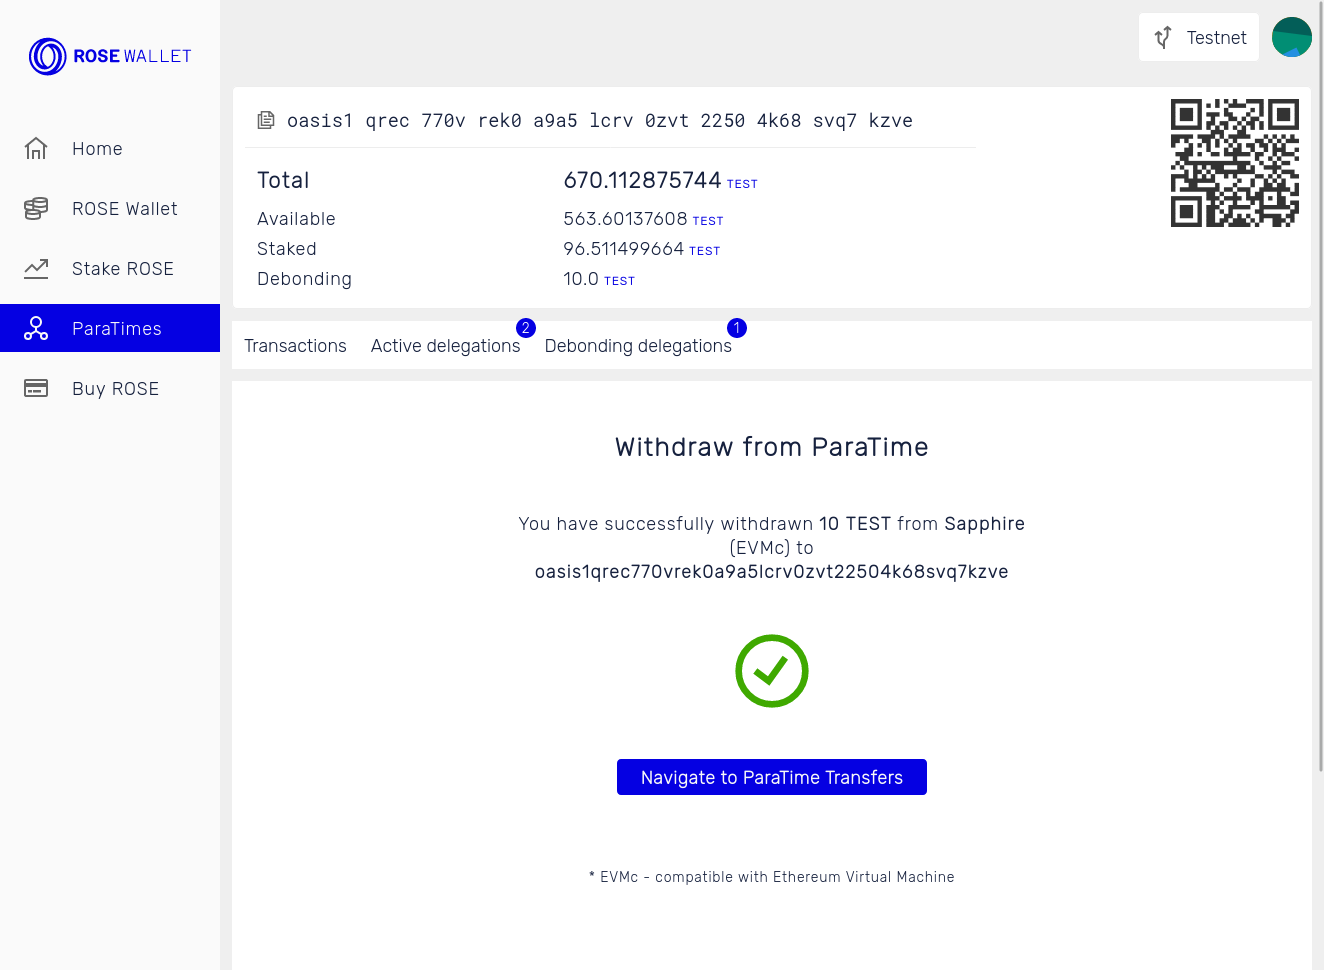
Once the withdrawal transaction is confirmed the tokens will appear on your consensus account.
Buy
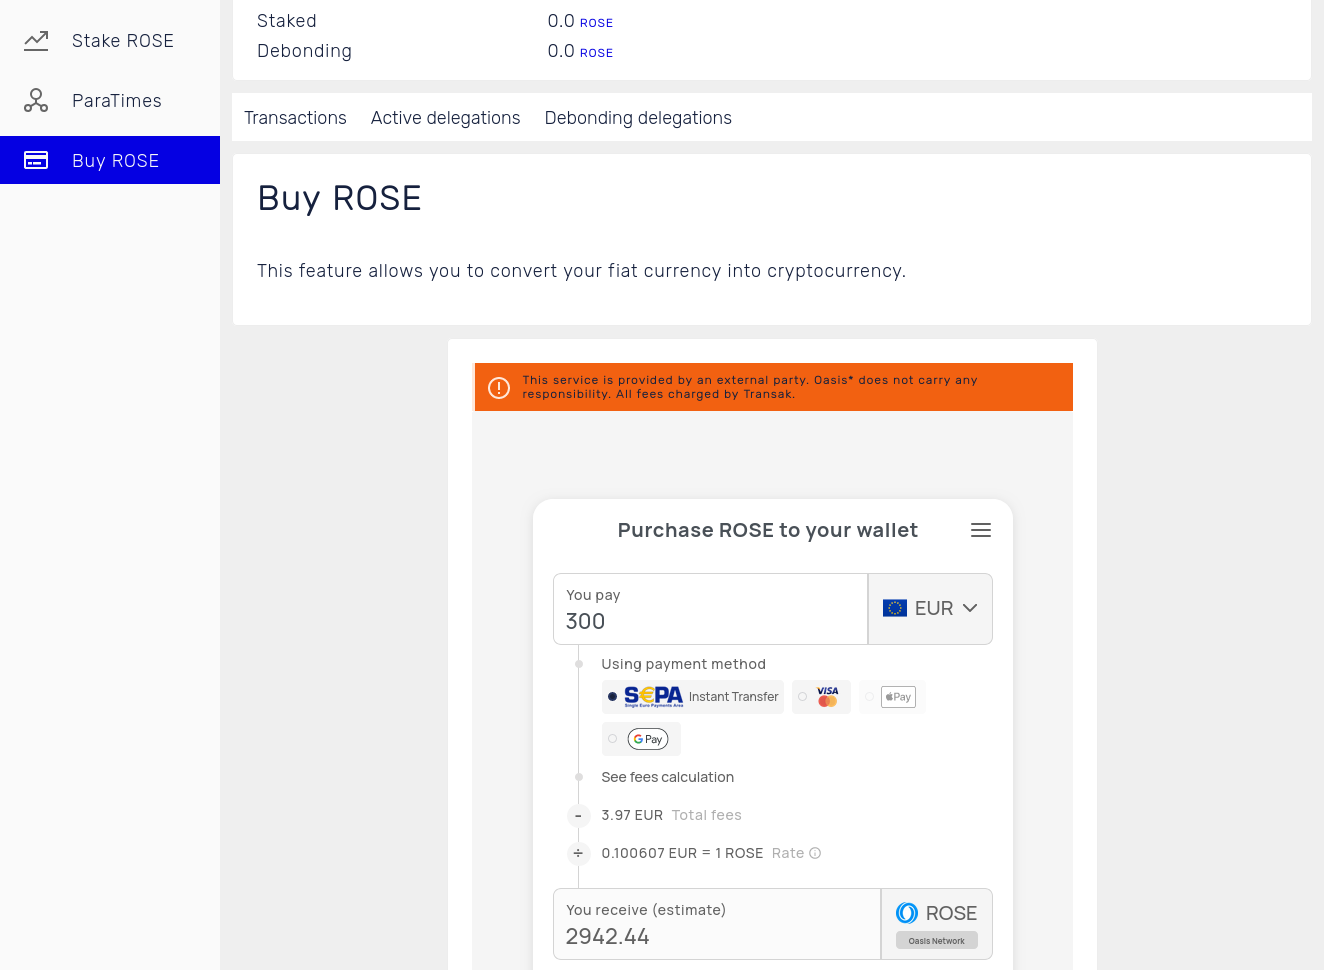
You can buy ROSE directly from within the wallet by opening the Buy screen. The Oasis Wallet team integrated a 3rd party Transak service which performs the necessary KYC, supports various payment methods, buys the tokens on the market and transfers them to your currently selected account.
Account options
When you have at least one account opened, click on the account jazz icon in the top-right corner. A popup will appear.
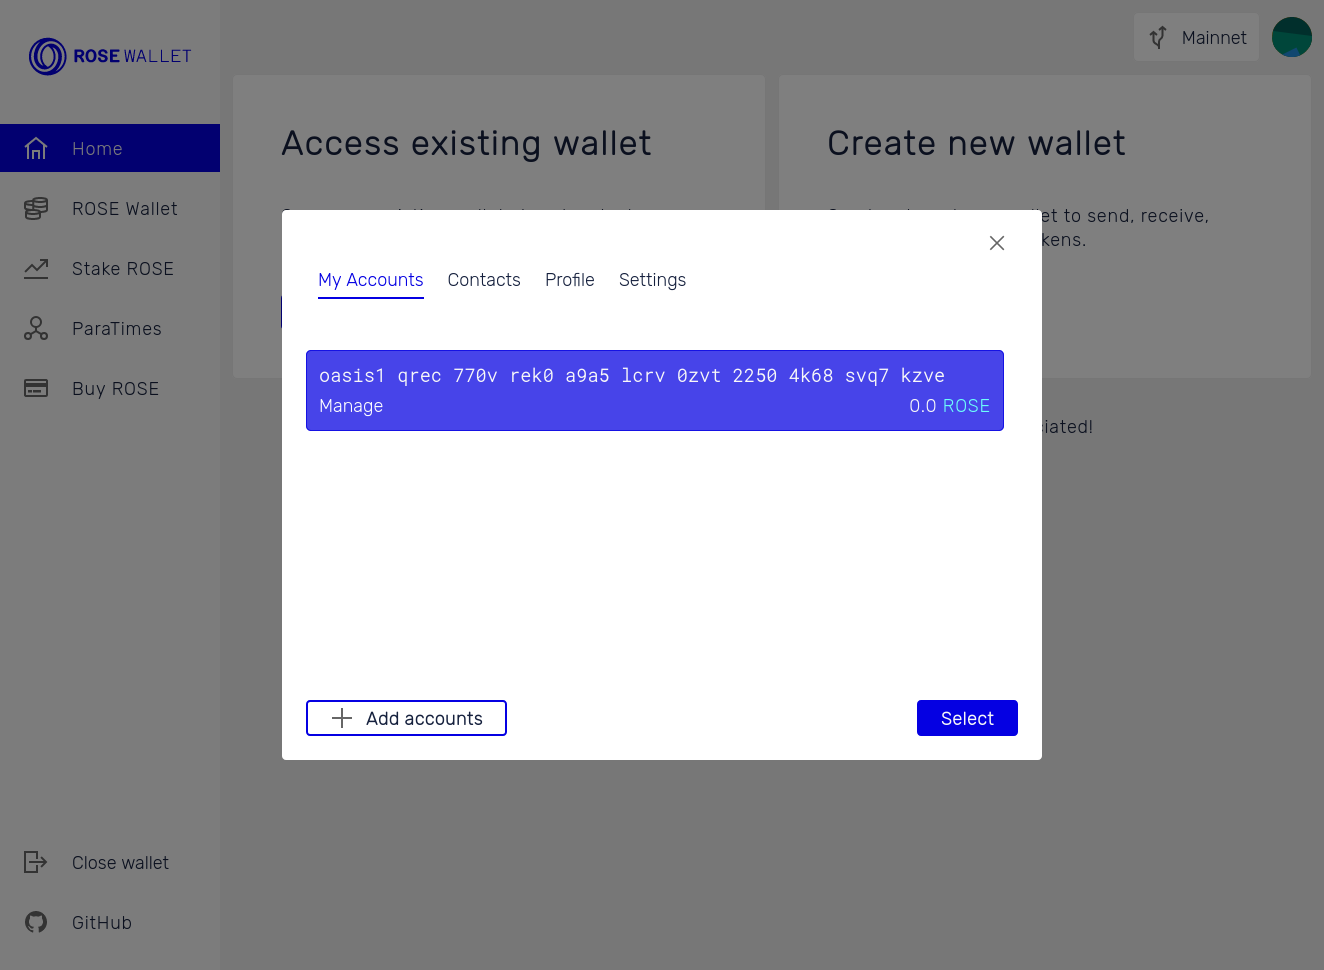
My Accounts
Select a different account and click "Select" to switch the current account.
Contacts
Contains a list of named addresses similar to the address book.
Profile
Used to change the password or delete your profile.
Settings
You can change the wallet language and toggle between the light and the dark theme.
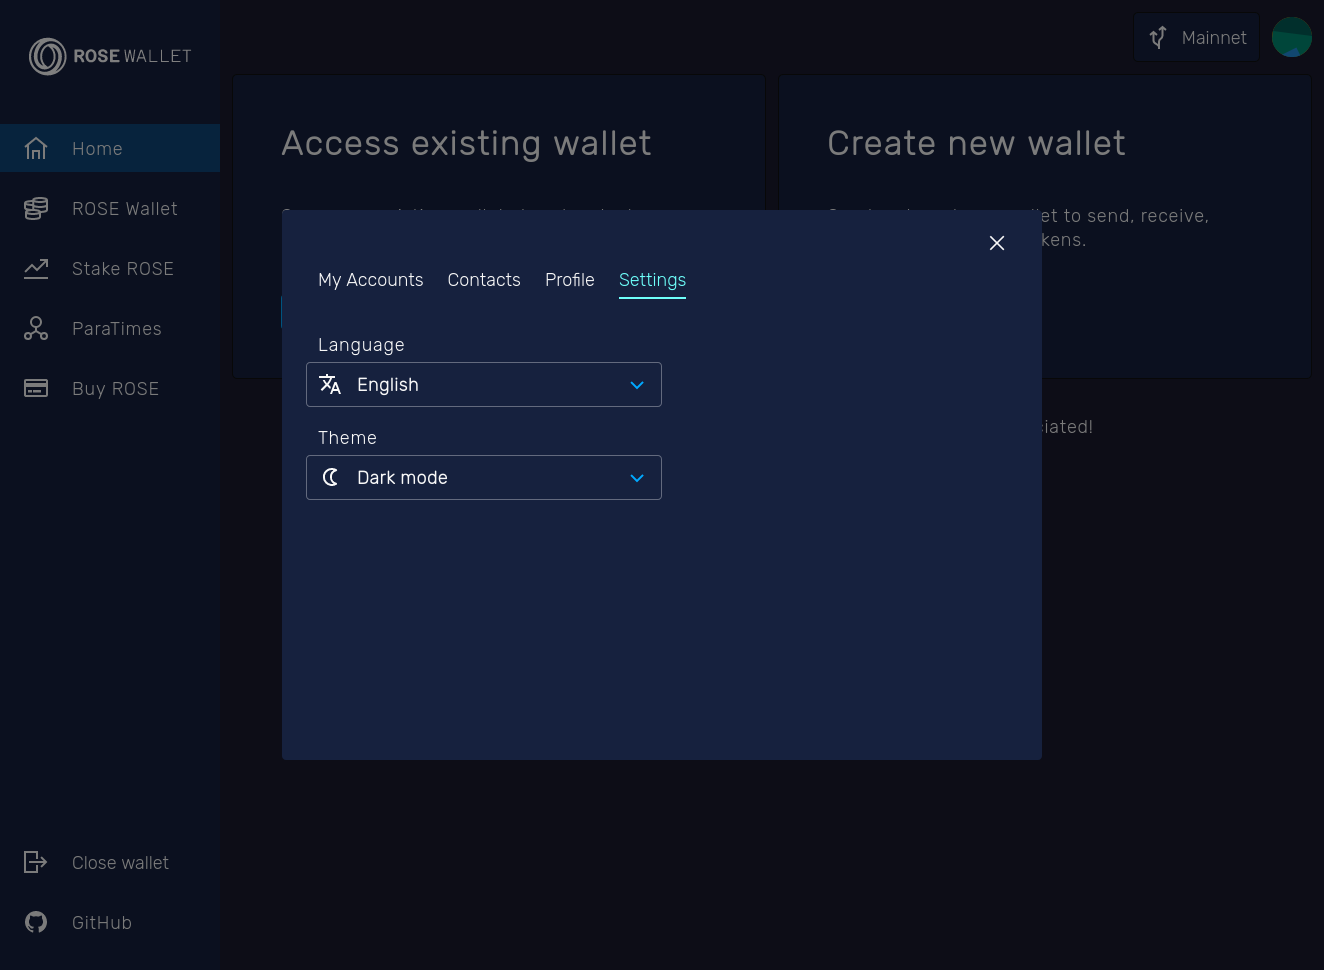
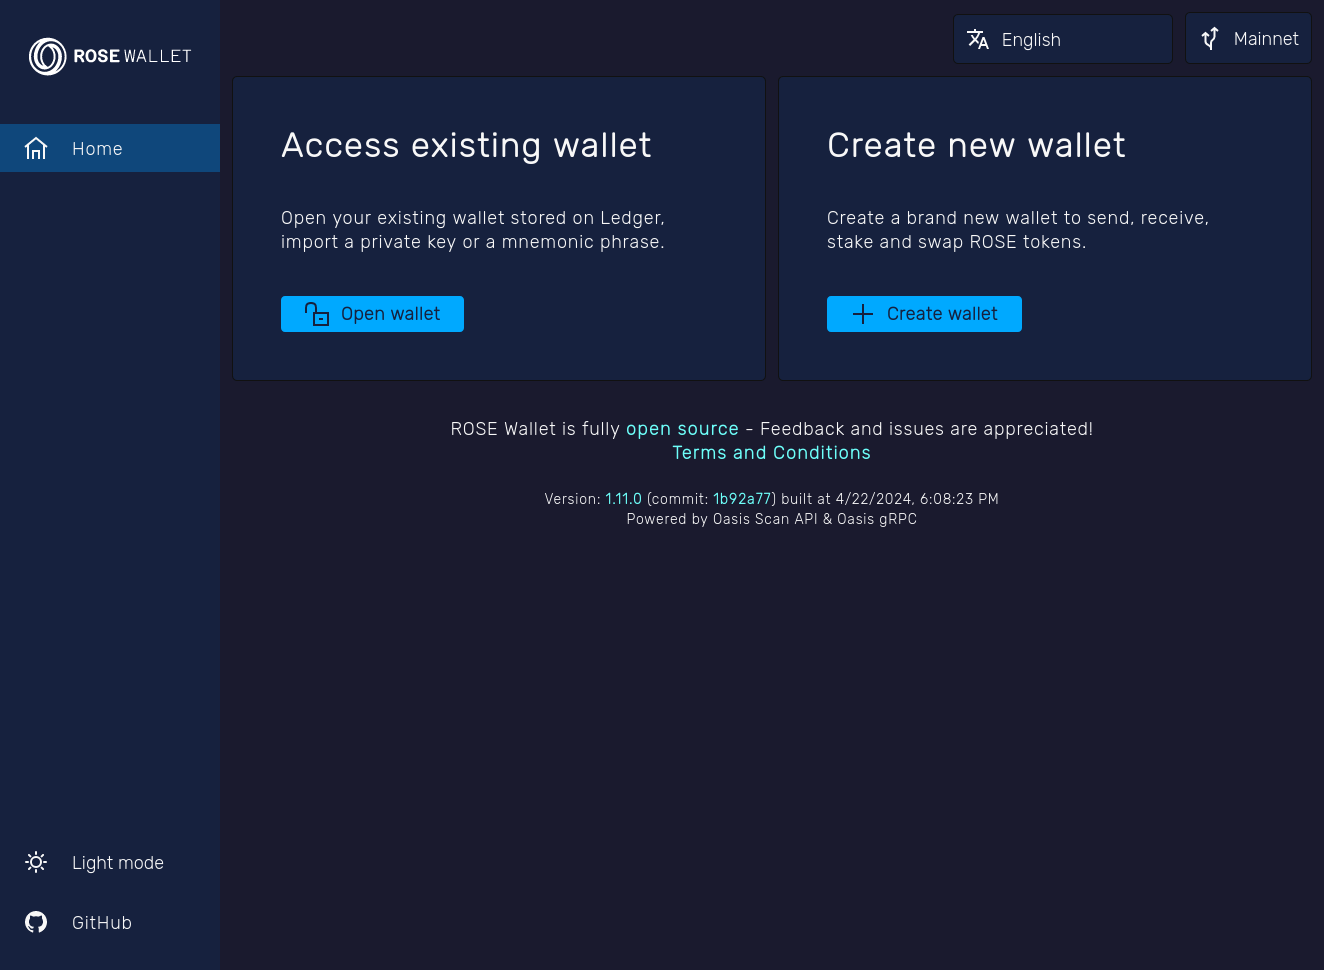
If you do not have a profile, a sun/moon icon will be shown in the lower-left corner.
Share your feedback with us
If you have any questions or issues using the Oasis Wallet - Web, you can submit a GitHub issue, and the dev team will take a look. You can also connect with us to share your feedback via Discord or Telegram.