Oasis ROSE Wallet - Browser Extension
Installation
Currently, Oasis Wallet - Browser Extension only supports Chrome or other Chromium-based browsers.
You can install the Oasis Wallet - Browser Extension by heading to the Chrome Web Store.
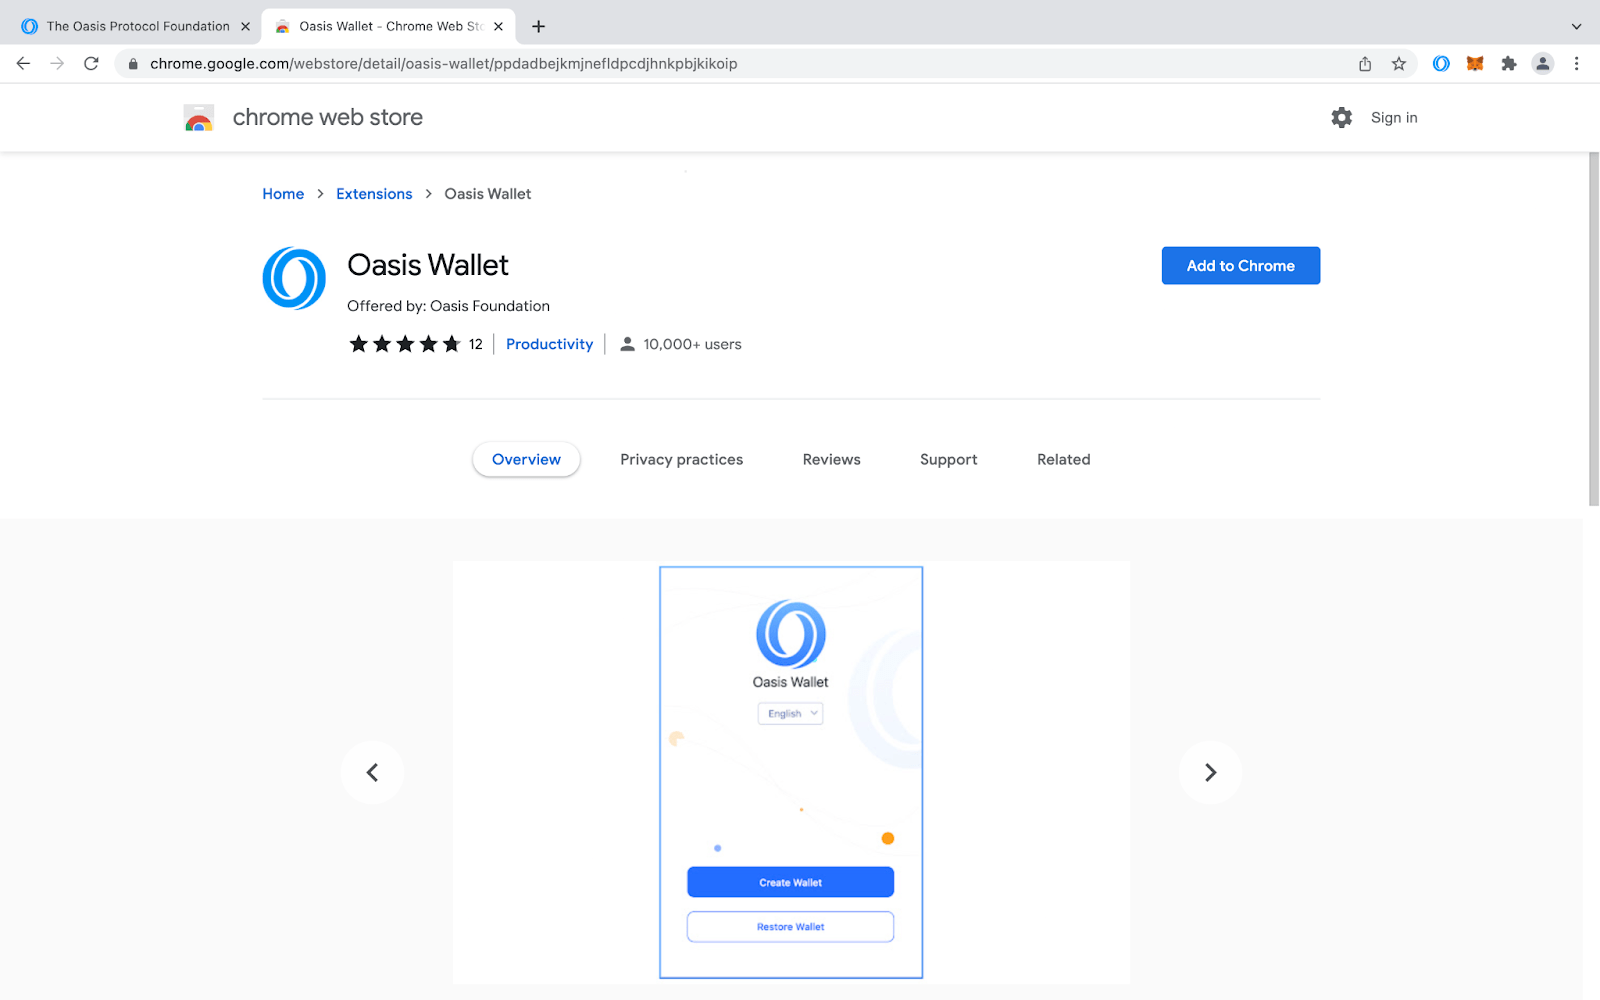
Next, either create a new Oasis wallet or restore your existing one.
Create a New Account
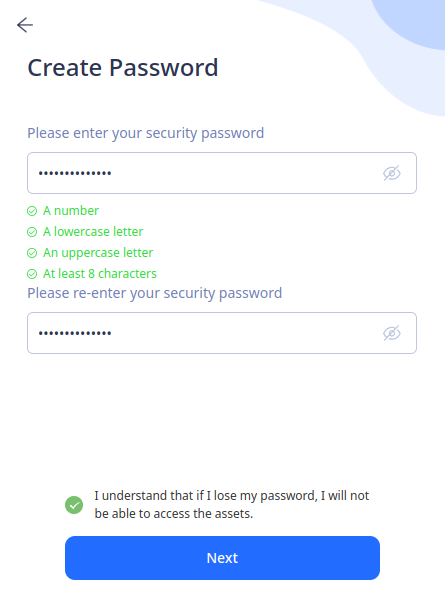
Enter the new wallet password. You will need to enter this password each time you open the wallet and after some time when the wallet automatically locks. Click "Next".
The newly generated mnemonic is shown to you. Carefully back it up. You will need this mnemonic, to migrate the wallet to another device or to restore it, if you uninstall your web browser. Click on the "Confirm backup" button.
Your mnemonic phrase is required to access your wallet. Be sure to store it in a secure location. If you lose or forget your mnemonic phrase, you will lose access to your wallet and any token funds contained in it.
Never share your mnemonic keyphrase. Anyone with your keyphrase can access your wallet and your tokens.
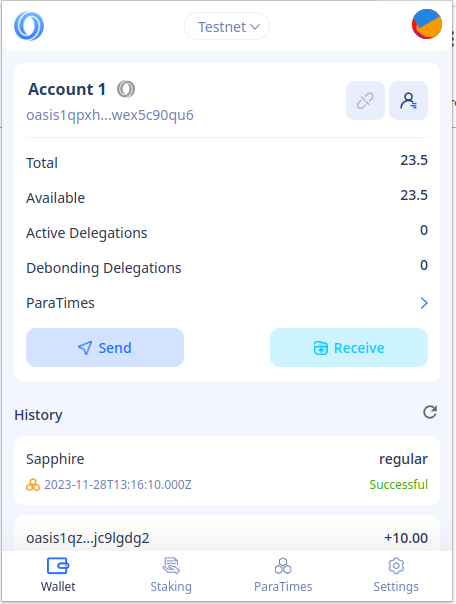
Now reenter the mnemonic words as a proof that you backed up the mnemonic and click on the "Confirm" button. Once done, you will see your balance on the Oasis consensus layer.
Import an Existing Account
In the top-right corner, click your account icon to open the Account management menu.
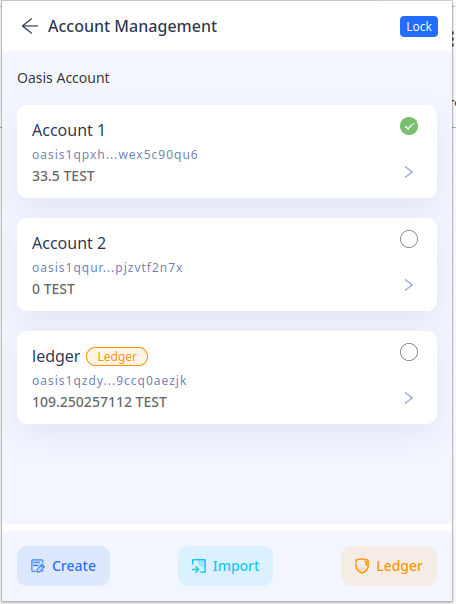
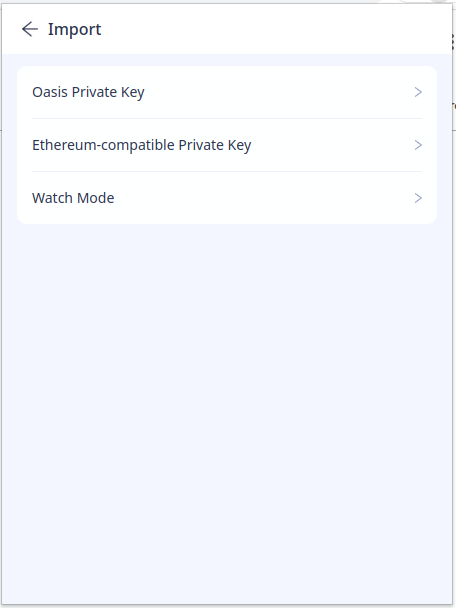
Click "Import" and select the:
- "Oasis Private Key" to import your existing Oasis private key to be used by Cipher ParaTime; or
- "Ethereum-compatible Private Key" to import your existing Ethereum Account to be used by the EVM-compatible Sapphire or Emerald.
We assume that you already have your public/private keypair. If you don’t have one yet, please go and create one. Store your Private Key, because you will need it in the Oasis Wallet Browser Extension.
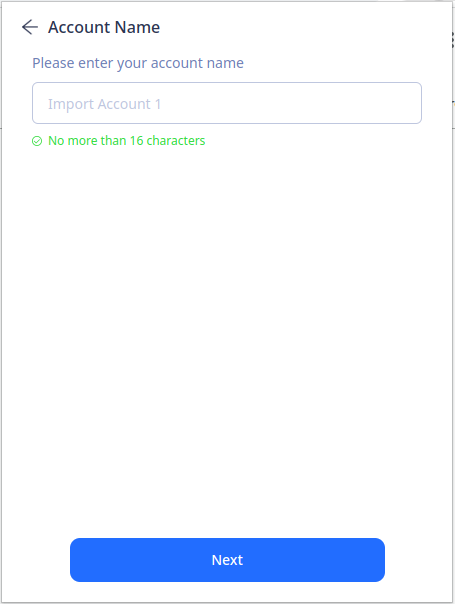
Fill in the "Account name" that will appear later in the Account Management screen.
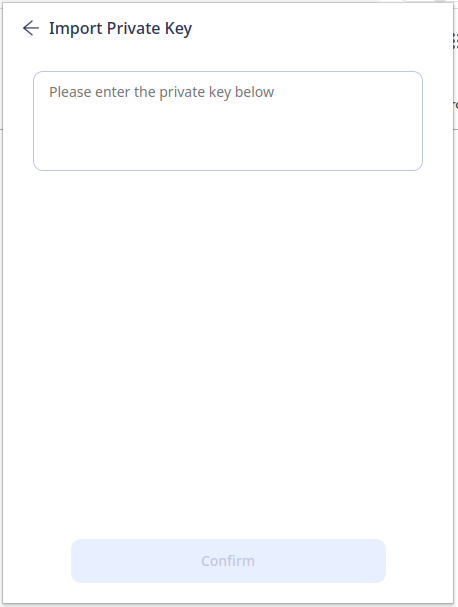
Next, paste your Base64-encoded Oasis or hex-encoded Ethereum private key.
You will need to import the private key and not the mnemonics. You can derive a private key from the mnemonics with BIP39→BIP44 converter. For example by importing the mnemonic into the Oasis CLI and exporting it.
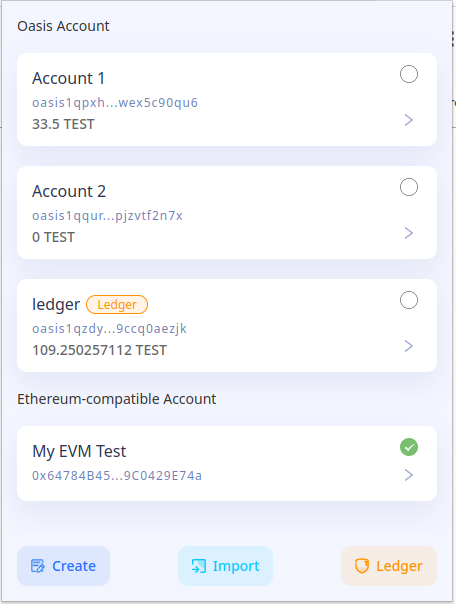
Your newly imported account will, depending on the account type, appear under the "Oasis Account" or "Ethereum-compatible Account" sections in the Account Management screen. Check that the Oasis or Ethereum address shown at the bottom that it matches the address shown to you when you generated the keypair.
In older versions of the Oasis Wallet Browser Extension there was also another Bech32-encoded version of the Ethereum address shown in the Ethereum-compatible wallet. This address is used in the backend for setting the allowance policy on the Oasis Network. If you can see it, you should immediately update your Wallet Extension! The Bech32-encoded address of the Ethereum-compatible account must never be used for withdrawing ROSE to. The signature schemes are incompatible (the consensus layer only supports Ed25519) and those tokens will not be accessible anymore!
Ledger
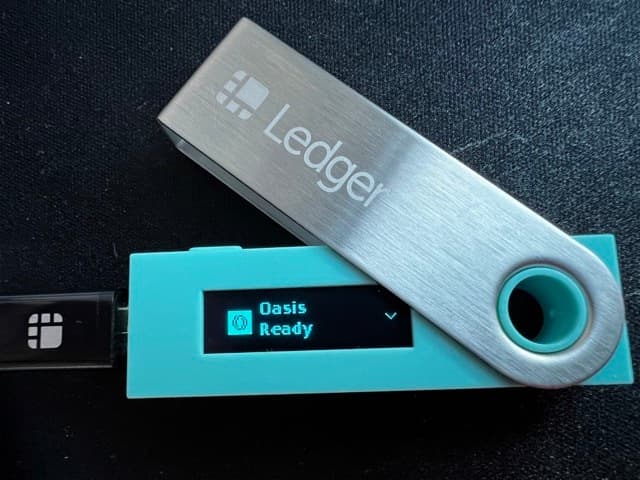
- Plug your Ledger device into your computer and log into the Oasis app on-device
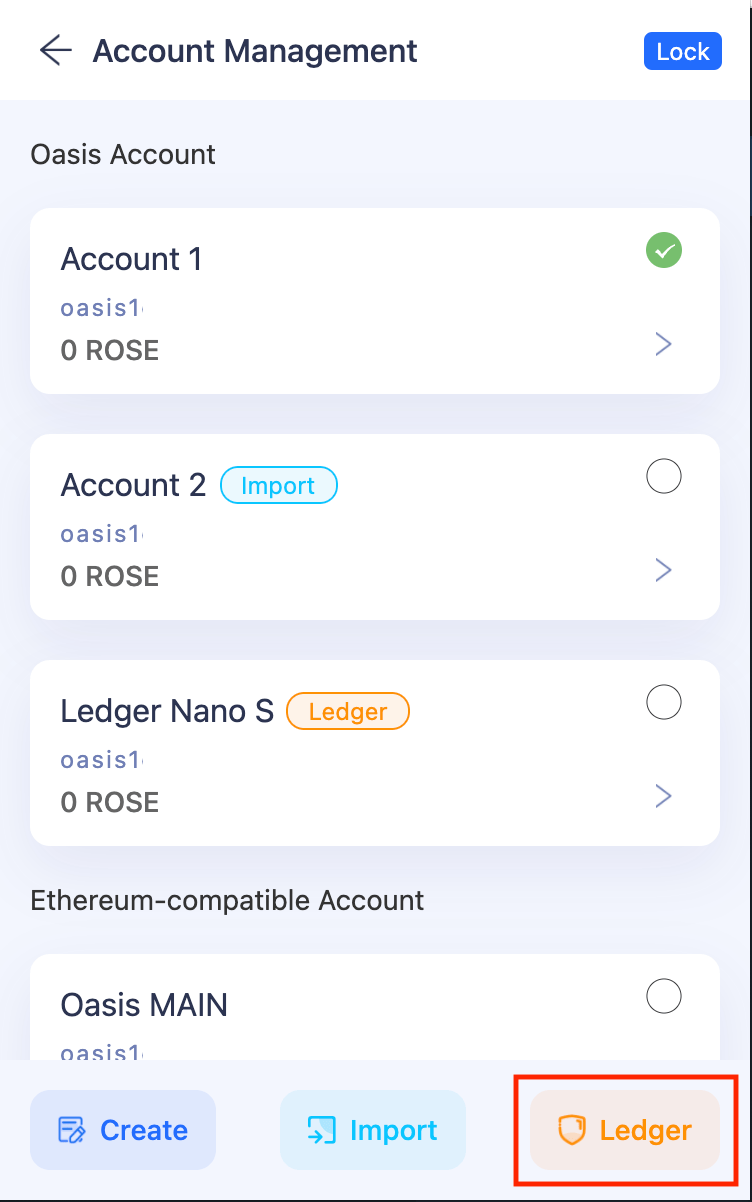
- Open the Oasis Chrome Extension Wallet and click the account icon on the top right. Select Ledger on the bottom right of the app.
-
Follow user onboarding flow clicking "Next" as you move forward with set up.
-
You'll see a pop-up in your Chrome Browser asking you to select which device to connect. Click on your Ledger device. Then click "Connect".
noteYou may need to resize the pop up window to see all buttons.
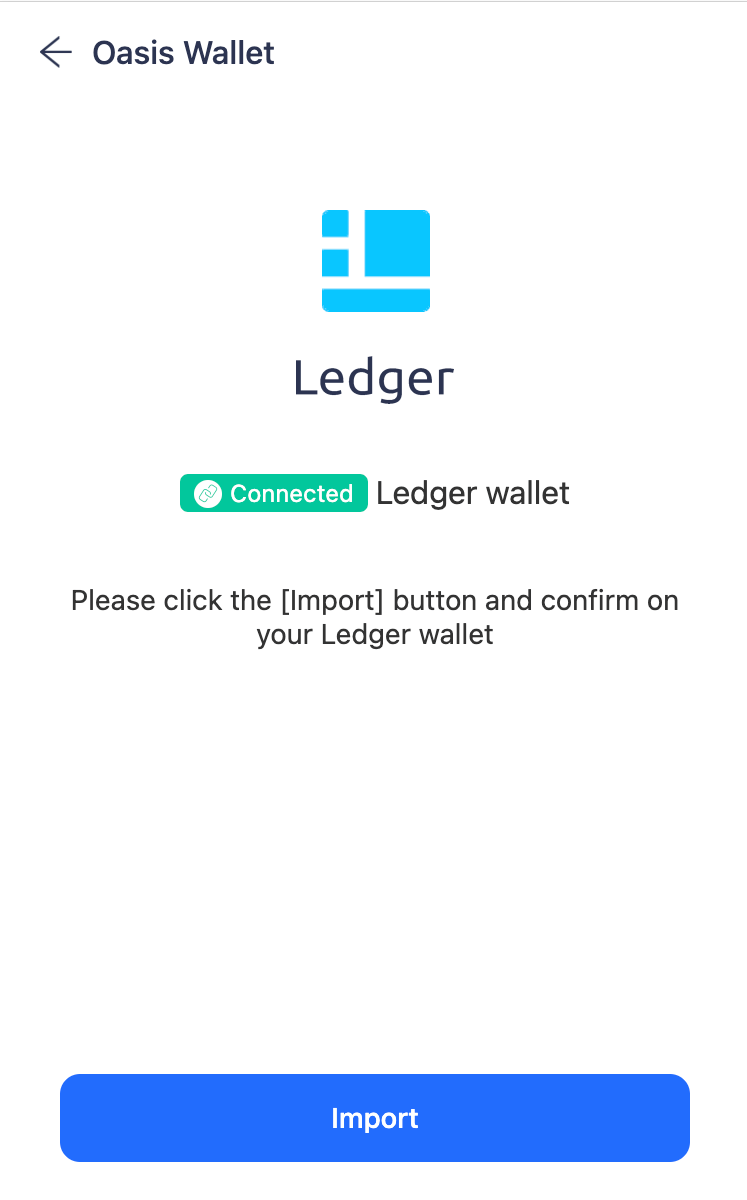
- Follow the next onboarding steps to upload the correct Ledger account, clicking "Confirm" when complete.
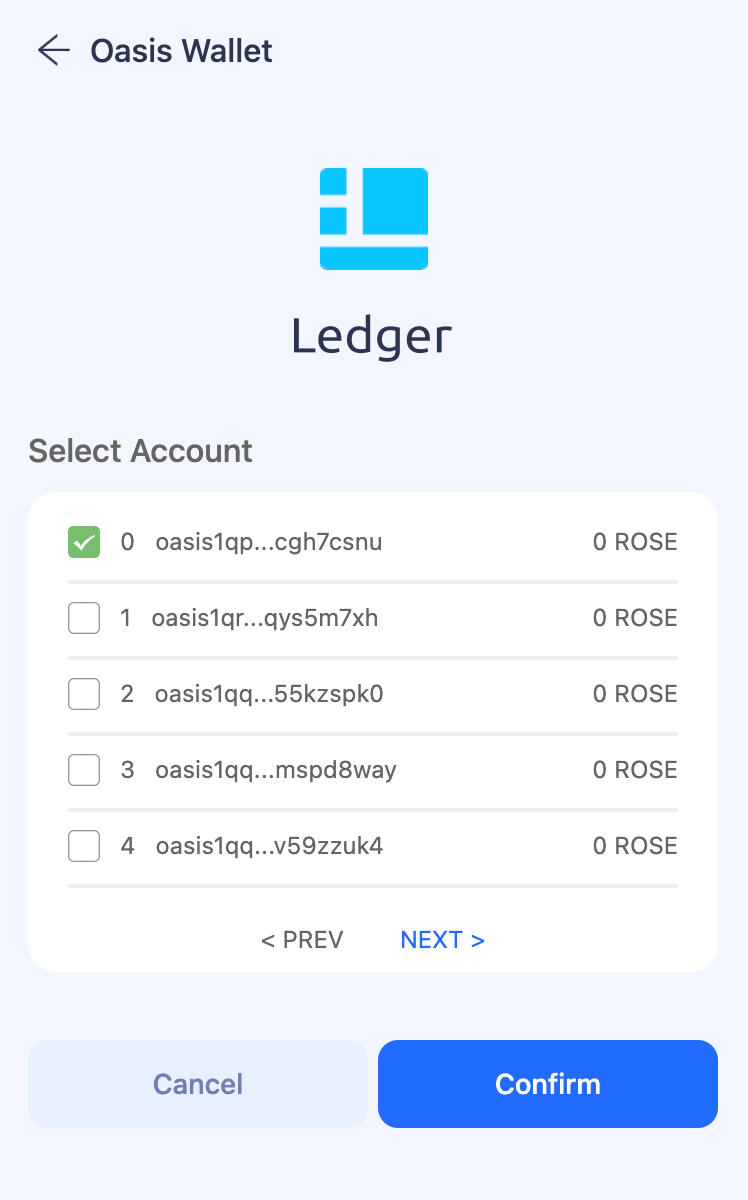
- Use your Ledger to send, receive and stake on the Oasis Network!
Transfer
- Send
- Receive
- Click the avatar on the top right corner
- Pick an account you want to transfer tokens out of
- Click "Send"
- Type in the token amount under "Amount"
- Type in the Receiver’s wallet address
- Click "Next"
- Check the "Send Details"; if everything looks good to you, click "Confirm"
- Wait for a couple of seconds, and you’ll get a status update of your transaction
- Go back to the Account page, and you’ll see the transfer has gone through
Click ‘Receive’ on the Account page, and you’ll get the QR code as well as the wallet address in text format
Stake
- Click "Staking" on the Account main page
- Go to "Validator node", and select a node you want to delegate your tokens to.
- Click into the node you want to delegate your tokens to, and click "Add Escrow"
- Fill in the amount you want to delegate under "Amount" and click "Next"
- Check the "Delegate info", if everything looks good to you, click "Confirm"
- Go to "My delegate" and you will see which node you just delegated tokens to and by how much
ParaTimes
Switch to the ParaTimes tab to deposit and withdraw ROSE to or from the ParaTimes.
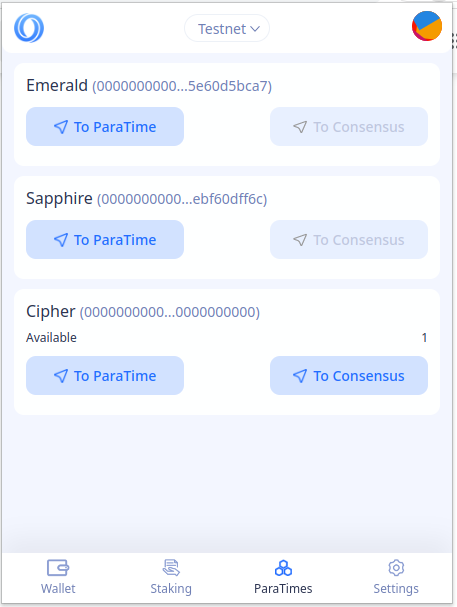
At time of writing, depositing and withdrawing ROSE to and from ParaTimes works for Oasis wallets imported from the private key or the mnemonic only. If you want to use the Ledger wallet, please use the Oasis CLI.
- Deposit
- Withdraw
For the sake of demonstration, we'll continue with the Sapphire ParaTime, but the Emerald or Cipher ParaTimes work just as well. Under the Sapphire label click on the "To ParaTime" button.
Fill in the "Amount" of ROSE that you want to transfer to Sapphire and, in our case, your Ethereum-compatible address in the "To" field you imported/created before. Then, click "Next", review and confirm the transaction.
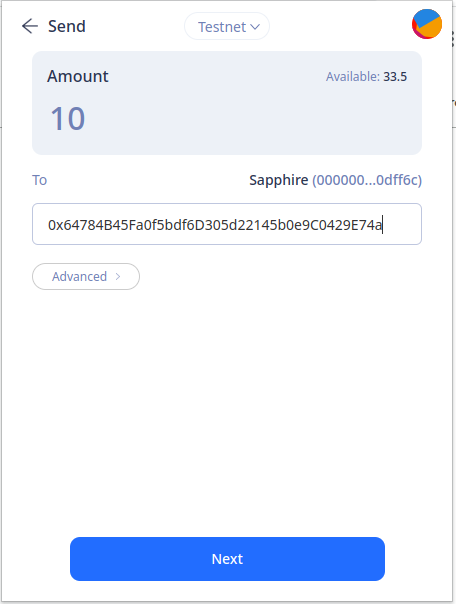
If everything goes well, you will see a successful ParaTime transaction in your account history.

You can withdraw your ROSE from the ParaTime back to your Oasis wallet by first selecting your ParaTime account in the Account Management screen. Next, switch to ParaTimes tab and click on the "To Consensus" button near the ParaTime entry. Fill in the "Amount" and your Bech32-encoded Oasis wallet address and confirm the withdrawal. In a few moments you will have your ROSE accessible on the consensus layer.
If you want to transfer ROSE to an exchange and you currently have them deposited on Sapphire, we strongly recommend that you withdraw ROSE to your Oasis wallet first and then perform a regular token transfer to your Oasis address on the exchange! The ParaTime's withdrawal procedure involves a number of steps as described in the introduction and some exchanges may not recognize this transaction as a valid transaction for funding your account on the exchange.
Advanced users (e.g. those running ParaTime compute nodes) may need to
withdraw ROSE from ParaTimes stored in their oasis1 accounts, for example to
claim their ParaTime execution rewards. Oasis Wallet Browser Extension does not
support such withdrawals. Use the oasis account withdraw command which is
part of the Oasis CLI instead, for example:
oasis account withdraw 10
You can check the balance of your consensus and ParaTime accounts by opening the Account Management screen and selecting the corresponding account. Then click on the back arrow. The Wallet tab will show you the balance on the consensus layer and for ParaTimes navigate to the ParaTimes tab. There you will notice the available amount of ROSE per each ParaTime.
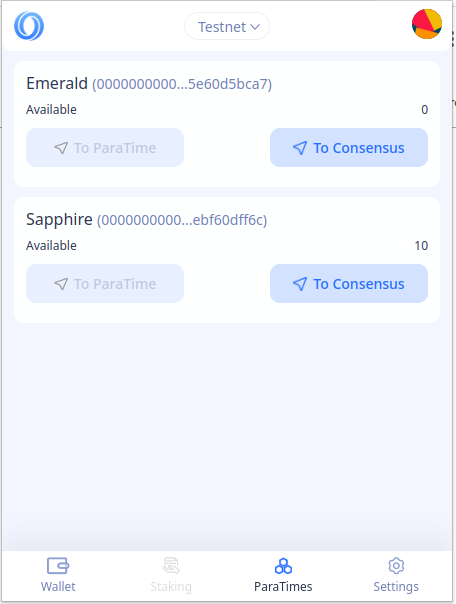
For EVM-compatible ParaTimes, you can as well verify the balance in Metamask or a built-in wallet in the Brave browser:
